


Building a new home is one of the most exciting journeys you can take, but it’s definitely a marathon, not a sprint. While those home-building shows on TV make it look like a project can be wrapped up in a few commercial breaks, a real-world new home construction timeline typically spans 7 to 12 months. For a truly custom home with unique features, it can often stretch even longer. This guide is designed to give you an honest, behind-the-scenes look at the entire process.
Setting Realistic Home Construction Expectations
Before you even think about breaking ground, the most important thing you can do is set realistic expectations. The timeline for a custom build is far more than just the physical construction. It's a carefully orchestrated sequence of events, and many of them are influenced by factors that are, frankly, out of anyone's direct control.
The Modern Building Climate
We're in a unique time for home construction. Anyone building today has to navigate a few significant hurdles that weren't as common a decade ago.
- Permit Delays: Many local building departments are swamped, which means getting your permits approved can sometimes take weeks or even months longer than expected.
- Labor Shortages: There's a real shortage of skilled tradespeople in many areas, from framers to electricians, which can create scheduling bottlenecks.
- Supply Chain Snags: Getting certain materials, like windows, trusses, or specific types of lumber, can be unpredictable. A delay in one key item can easily pause the entire project.
Historically, the national average to build a new single-family home was around 6 to 9 months, but the current climate often pushes that timeline out. Think of your initial schedule as a very well-educated guess.
This infographic gives a great high-level overview of the major phases you can expect.
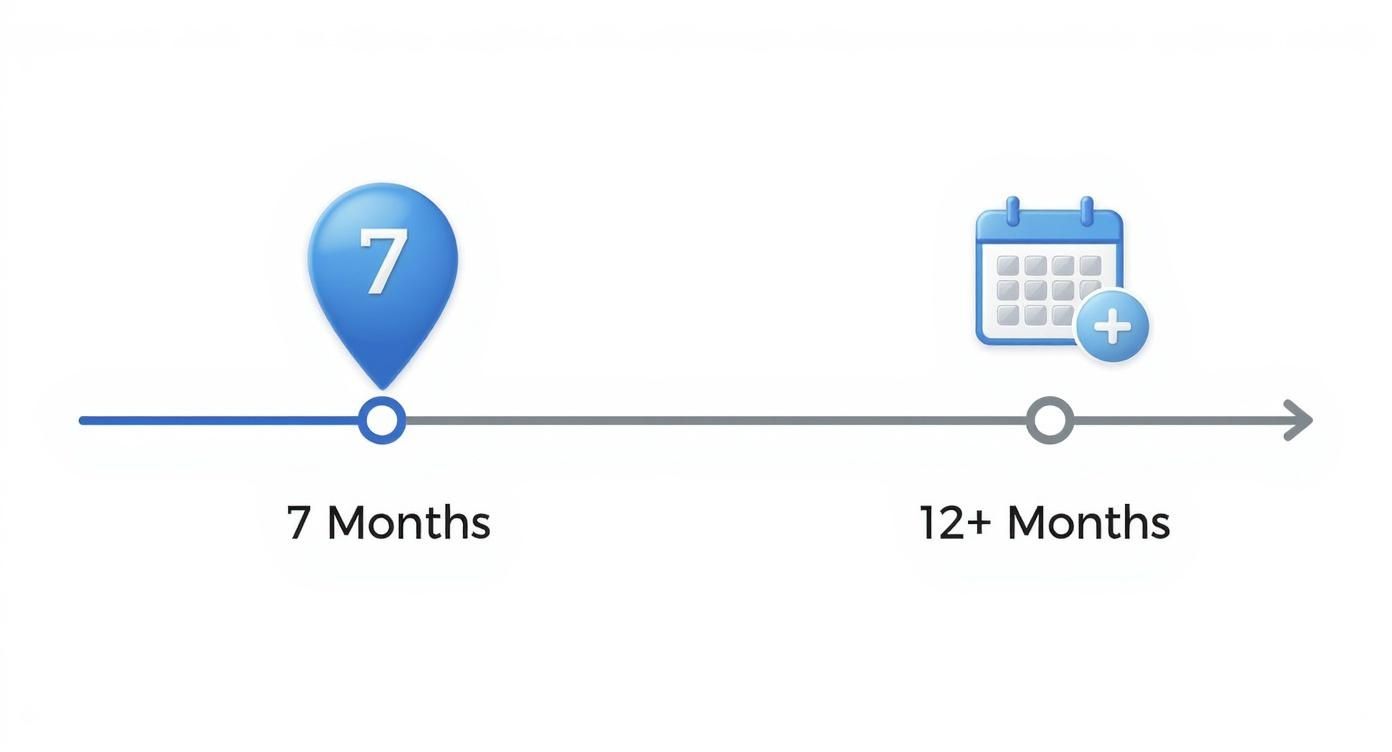
As you can see, patience is a virtue in homebuilding. Most projects will easily cross that six-month mark before you're anywhere near moving in.
The most important takeaway is this: Your timeline is a well-informed estimate, not a guarantee. The best tools you have for a smooth process are flexibility and constant, open communication with your builder.
To help you manage all these moving parts, we've put together a table that breaks down the major phases of construction and what to expect during each.
Home Construction Timeline At a Glance
Here is a quick reference guide to the major construction phases and their typical durations. This table will give you a bird's-eye view of the entire building process from start to finish.
| Phase | Typical Duration | Key Activities |
|---|---|---|
| Pre-Construction | 1-4 Months | Design, permitting, site prep, financing |
| Foundation | 2-4 Weeks | Excavation, footings, pouring concrete |
| Framing | 1-2 Months | Walls, floors, roof system, sheathing |
| Exterior & Rough-Ins | 1-2 Months | Windows, siding, roofing, plumbing, electrical, HVAC |
| Insulation & Drywall | 1-2 Months | Insulation installation, hanging and finishing drywall |
| Interior Finishes | 1-3 Months | Flooring, trim, cabinets, painting, countertops |
| Finals & Closing | 1 Month | Fixtures, landscaping, final inspections, punch list |
Keep in mind that these are just estimates. Bad weather, inspection delays, or changes you request can all add time to any of these phases.
A solid plan is your best defense against these variables. Staying organized from day one helps you make timely decisions, which is absolutely critical for keeping the project moving forward. Our comprehensive new home construction checklist is a fantastic resource for tracking every little detail, from design choices to final inspections, ensuring nothing falls through the cracks.
Diving Into Pre-Construction and Permitting
Long before the first shovel ever breaks ground, some of the most critical work on your custom home is already happening. This is the pre-construction phase, a period that can easily span from 2 to 6 months. Think of it as the foundation of your entire project—a time filled with planning, paperwork, and a healthy dose of patience.
This is where your dream gets translated into a real, buildable, and legally approved set of plans. I’ve seen it time and time again: rushing this stage is a recipe for expensive change orders and frustrating delays later on. Remember, it's a whole lot cheaper to move a wall on paper than it is once it's been framed.
Getting the Architectural Plans Just Right
Your architectural plans are the official instruction manual for your home. You'll be working hand-in-hand with your architect and builder, poring over every last detail—from the overall flow of the floor plan right down to where every single light switch and electrical outlet will go.
This is a deeply collaborative process. Expect a few rounds of drafts and revisions to get everything perfect. You’re making decisions now that will shape how you live in and enjoy your home for years to come.
Be ready to dive deep into detailed conversations. The more thorough you are at this stage, the smoother the actual build will go. Your builder's input is invaluable here; they can spot potential construction headaches or cost-saving opportunities in the design that might not be obvious on paper.
Lining Up Financing and Permits
With your plans locked in, two crucial things happen at once: securing your construction loan and submitting for building permits. Your lender will need to see the complete set of plans, a detailed budget from the builder, and a signed contract before they give the green light. They want full confidence that the project is well-defined and financially sound.
Simultaneously, your builder will take those plans to the local building department for their stamp of approval. Frankly, this is often the most unpredictable part of the entire timeline.
Common Permit Hurdles to Anticipate:
- Waiting Games: Municipal offices can get seriously backlogged. Review times that you hope will take a few weeks can sometimes stretch into several months.
- Requests for More Info: It's pretty standard for a plan reviewer to ask for clarifications or more details. This means your architect or engineer has to circle back, make adjustments, and resubmit.
- Extra Layers of Approval: On top of the main building permit, you might need separate approvals from zoning boards or your Homeowners' Association (HOA), each with its own unique process and timeline.
This is where a seasoned builder truly earns their keep. They know the local codes inside and out and can often anticipate what reviewers will flag, helping to create a more complete submission package right from the start. Having the right team makes all the difference, so make sure you've covered the essential questions to ask a home builder before signing on. Their skill in navigating this bureaucracy is just as important as their skill with a hammer and nails.
From Dirt Work to a Concrete Foundation
There's nothing quite like seeing the first bulldozers arrive. Breaking ground is a huge moment—it’s the first real, tangible step in your build.
Once the lot is cleared of trees and debris, the crew gets to work on grading. This isn't just about leveling the dirt; it's about carefully shaping the land so rainwater naturally flows away from your future home.
From there, they'll dig the trenches for the footings and pour the concrete foundation. Expect this critical stage to take anywhere from 3 to 6 weeks, though a few days of bad weather can easily throw a wrench in that timeline. This phase truly is the backbone of your entire new home construction timeline.
Getting the Site Ready
Before any concrete shows up, the site itself needs a lot of attention. As a homeowner, you’ll want to walk the property and make sure the grading slope looks right. You’re looking for a gentle, consistent slope away from where the slab will be, which prevents water from pooling against your foundation later.
You should also see some form of erosion control, like silt fencing or straw wattles. These are simple but effective measures to keep soil from washing away during a heavy rain.
- Underground Utilities: All the "unseen" stuff happens now. Water, sewer, and electrical lines are laid in trenches before the area is backfilled.
- Coordination is Key: This is a period of intense coordination with city or county inspectors. A missed inspection or failed test can halt the entire project, so your builder needs to be on top of it.
“A single rainstorm can pause work for days, so keep an eye on forecasts and have a conversation with your builder about their contingency plan.”
After the underground plumbing and drainage pass inspection, the crew will backfill around the foundation. Using the right backfill material is essential for preventing the ground from settling, which could lead to cracks in your slab down the road.
What to Look for During the Foundation Pour
When it's time to pour the concrete, there are a few things to keep an eye on. Ask your builder about the concrete mix specifications to ensure they meet the structural engineer's requirements for strength and durability.
The forms—the wooden frames that hold the wet concrete—must be perfectly level and square. If they’re off even a little, you’ll end up with walls that aren't straight. It’s much easier to fix it now than after the concrete has cured.
I always recommend clients keep a simple log for this stage. It doesn’t have to be fancy, just a small table can make a world of difference.
| Milestone | Date | Inspector Sign-Off |
|---|---|---|
| Footing Pour | May 15 | John Doe |
| Slab Pour | May 20 | Jane Lee |
| Cure Check | May 27 | Jane Lee |
This simple tracking helps you stay informed and keeps everyone accountable as you move toward framing.
Quality Checks Before Framing Begins
Once the concrete has cured for the appropriate amount of time, it's time for a final quality check before the framers arrive. The first thing to confirm is that the foundation walls are plumb (perfectly vertical).
Take a close look at any exposed rebar—if you see significant rust or damage, it could signal issues with moisture control during the pour.
- Anchor Bolts: Check that the anchor bolts, which will hold the wooden frame to the foundation, are properly embedded and spaced correctly.
- Perimeter Walk: Do a final walk-around with your builder to inspect the edges of the slab for any chipping or inconsistencies.
A quick pre-framing inspection report can catch any red flags early, streamlining the handoff to the carpentry and HVAC crews. Visiting the site once a week during this phase is one of the best ways to stay connected and spot potential problems before they become major headaches.
Tips to Keep Things Moving
Weather is the biggest wild card at this stage. Always build a few buffer days into your schedule to account for potential rain delays.
Ask your builder for weekly updates to the new home construction timeline. This keeps you in the loop and helps manage expectations.
Finally, if you notice any plumbing stubs or drains that seem misaligned before the backfill happens, speak up immediately. It's an easy fix now but a nightmare to correct later.
Insider Tip: Keep a simple photo log on your phone of each pour and inspection. A quick picture can be invaluable if a dispute or question comes up weeks later.
With a solid foundation in place, you’re officially ready for the most exciting visual phase: framing. By staying proactive and leaning on your builder's expertise, you can get through this foundational stage smoothly and celebrate a massive milestone.
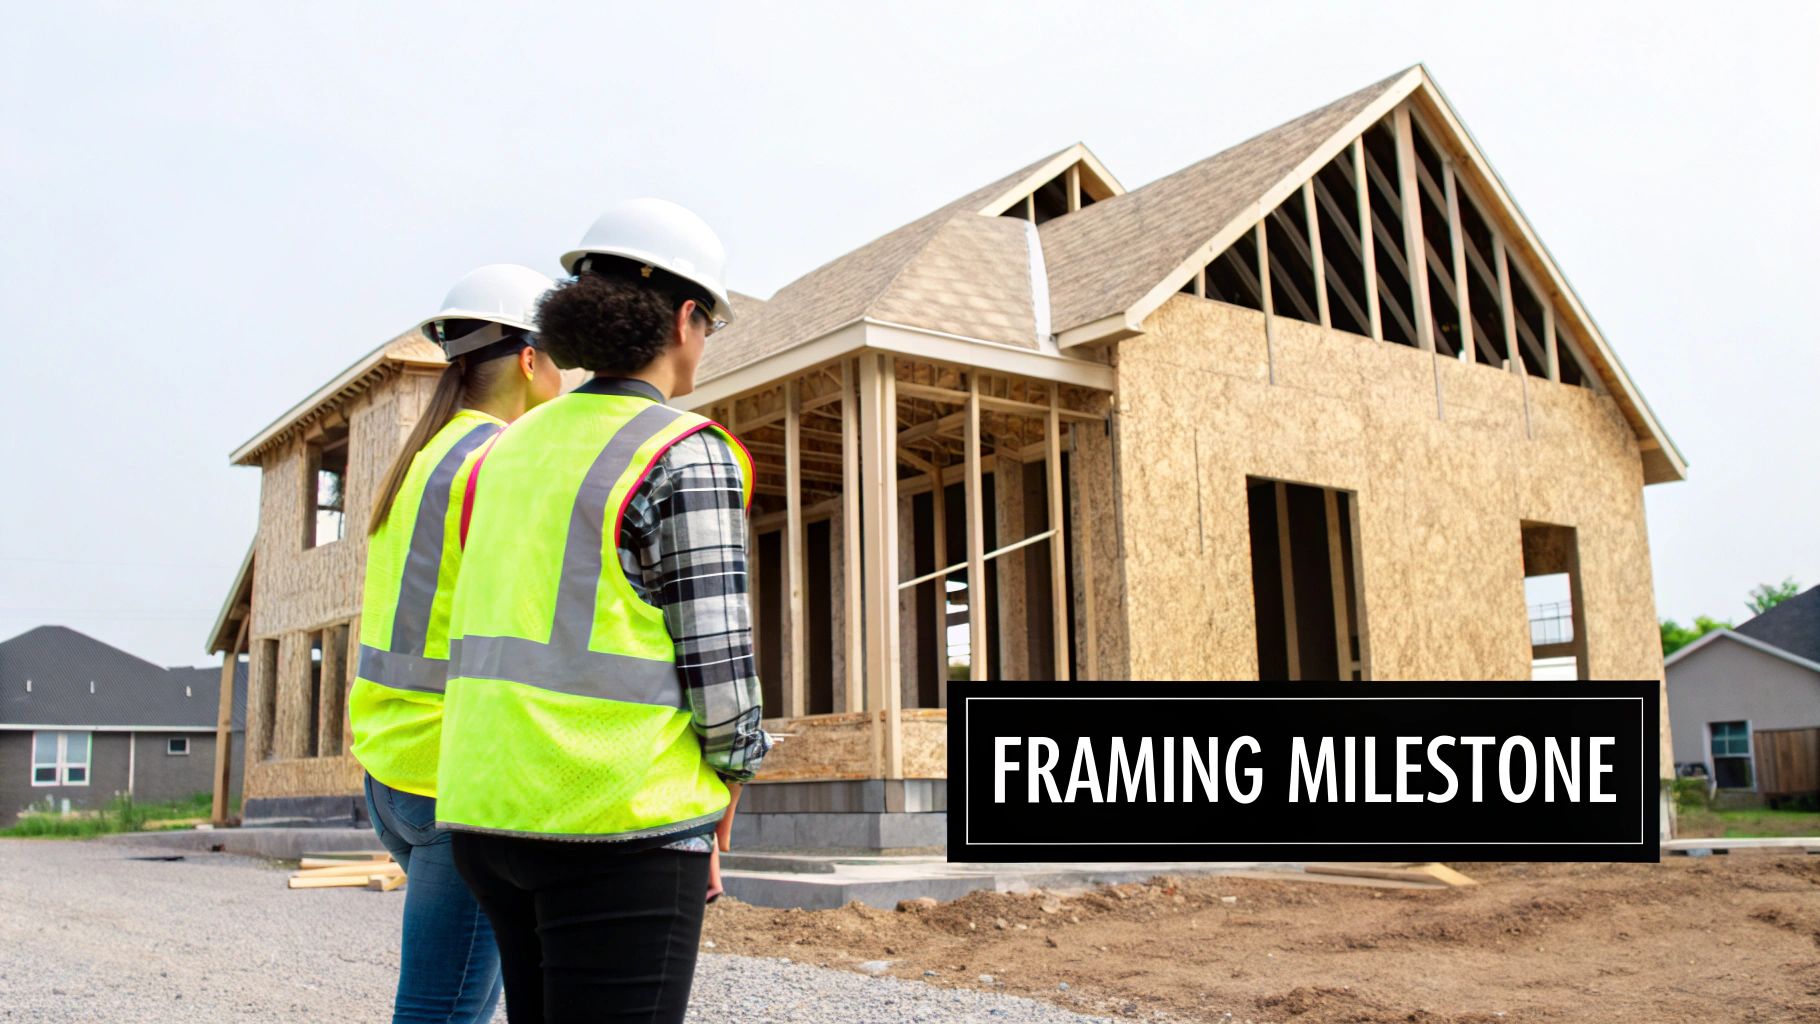
This is where your house really starts to look like a house. The framing stage is easily the most exciting and visually dramatic part of the entire build. In what feels like the blink of an eye, a skilled crew raises the skeleton of your home—the floors, walls, and roof system—and that concrete slab is suddenly transformed.
You can finally walk through the rooms you've spent months picturing. You can stand where the kitchen island will be, get a real sense of the ceiling height in the great room, and see how the light hits the breakfast nook in the morning. This is the moment your floor plan becomes a physical reality. It's a huge milestone.
Once the initial framing is up, the crew immediately pivots to creating a weatherproof shell. We call this "drying-in" the house, and it’s a critical step before any interior work can begin.
From Skeleton to Shell
The whole point of drying-in is to seal the structure from the elements so that sensitive interior work can start without worrying about rain or snow. Combining the framing and the full enclosure usually takes somewhere between 4 and 8 weeks.
Here’s what’s happening during that time:
- Sheathing Goes Up: Plywood or OSB (oriented strand board) panels are nailed over the exterior wall studs and roof trusses.
- House Wrap is Applied: A large, weather-resistant barrier is wrapped around the entire structure, acting like a giant raincoat for your home.
- Windows & Exterior Doors are Set: Once these are installed and sealed, the interior is officially closed off.
- Roofing is Finished: Shingles, metal panels, or whatever material you chose is installed, making the entire home watertight from above.
It's amazing to think about the scale of construction happening worldwide. Global floorspace actually grew by about five billion square meters between 2010 and 2023, driven by a ton of different economic factors. These massive global construction trends have a ripple effect on everything from the availability of lumber to local building codes, which can definitely influence your project's schedule.
The All-Important Framing Walkthrough
Before the drywall goes up and all the wiring is hidden away, your builder will schedule a framing walkthrough. Do not miss this meeting. This is your absolute best chance to walk the space and ensure every detail from the blueprints has been translated correctly. Trust me, it’s a thousand times easier to move a doorway now than it will be in a few weeks.
Pro Tip: When you go, bring your final floor plans, a tape measure, and something to take notes on. Walk through every single room and physically check the placement of key features. A little diligence here can save you a massive headache—and a lot of money—later on.
Here’s a quick checklist to run through with your builder:
- Windows and Doors: Are they in the exact spot you wanted? Is that picture window centered on the view like you imagined?
- Room Dimensions: How do the spaces actually feel? Measure tight spots like hallways or small closets to make sure they're functional.
- Special Features: Double-check the framing for any built-in shelving, shower niches, or other custom architectural details you planned.
- Outlet and Switch Heights: While the walls are open, confirm that outlets and light switches are at logical heights. It's a small detail that makes a big difference in daily life.
Installing Your Home's Mechanical Systems
Now that your home is a weatherproof shell, things really start to get busy inside. This is what we call the “rough-in” phase, and it’s a flurry of carefully coordinated chaos. Plumbers, electricians, and HVAC technicians descend on the site, all working within the open walls to install the hidden systems that bring your house to life.
This entire stage usually takes 4 to 8 weeks and is one of the most action-packed periods in the whole new home construction timeline. While the interior is a maze of wires, pipes, and ducts, the exterior is also getting its final skin. This is when you’ll see siding, brick, or stone going up, giving your home its true character.
The Inner Workings of Your Home
Inside, each trade has its designated mission. Plumbers are busy running supply and drain lines to all the kitchens, bathrooms, and laundry areas. Electricians are pulling wire for every outlet, light switch, and fixture you’ve planned. At the same time, the HVAC crew is installing the network of ductwork that will keep you comfortable for decades.
It's called a “rough-in” for a reason—nothing is connected to a final fixture. You'll see pipes stubbed out of walls and coiled wires tucked into junction boxes, but the actual sinks, lights, and outlets won't be installed until much later.
This is where a great general contractor earns their keep. The coordination required is immense. If a plumber runs a drain line right where a major HVAC duct needs to go, you've got a costly and time-consuming problem. A seasoned builder knows how to sequence these trades perfectly to avoid those headaches.
Passing the Mechanical Inspections
After all the rough-in work is done, everything on site comes to a halt. This is for a series of critical municipal inspections. An inspector will walk the job to verify that every pipe, wire, and duct has been installed correctly and meets all safety and building codes.
This is a hard stop; no further work can happen until you get a green light. A failed inspection can easily tack on a week or more to the schedule while the trade comes back to fix the issue and you wait for the inspector to return.
What Inspectors Look For:
- Plumbing: They'll check for proper pipe connections, make sure drain lines have the right slope, and pressure-test the entire system to ensure there are absolutely no leaks.
- Electrical: The focus here is on correct wire gauges, proper circuit breaker assignments, and ensuring all junction boxes are installed correctly and remain accessible.
- HVAC: Inspectors look for secure duct connections, proper ventilation runs, and confirm the system is sized appropriately for the home's square footage and layout.
To keep things moving, ask your builder about their inspection history. An experienced contractor knows exactly what inspectors look for and makes sure the work is done right the first time, keeping your project on track and avoiding unnecessary delays.
Phase 6: The Finishing Touches (8-12 Weeks)
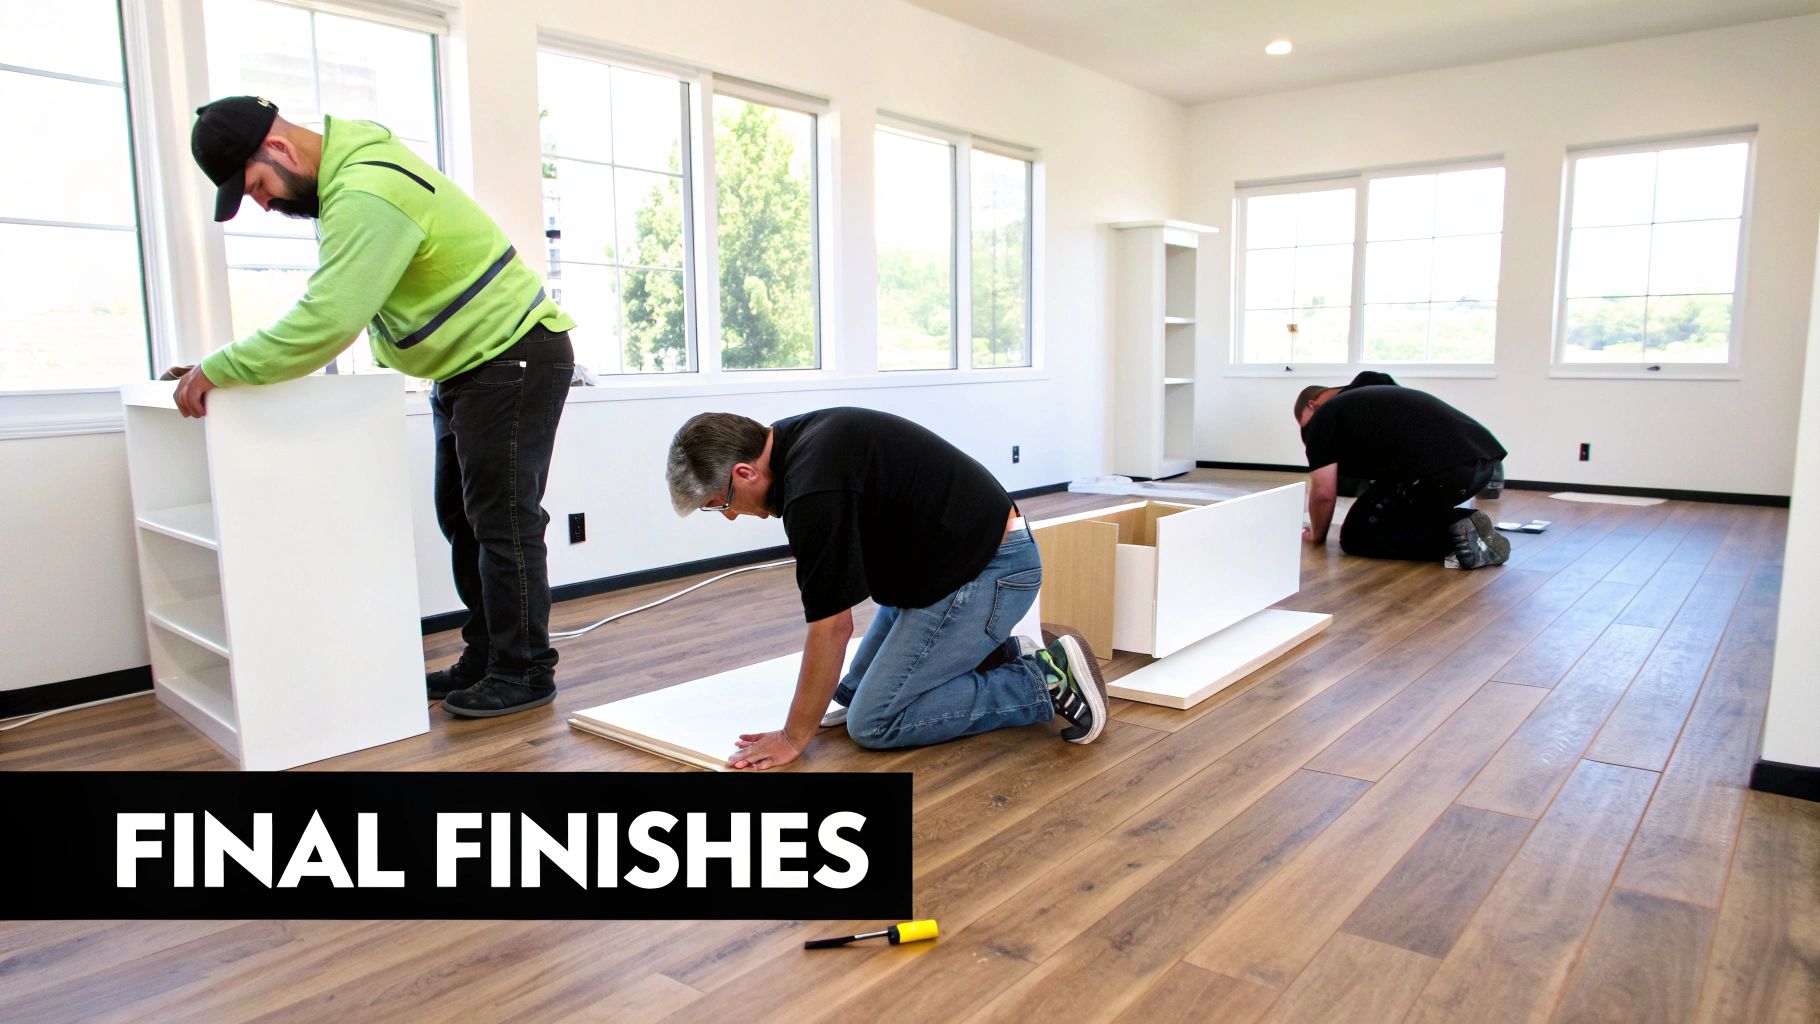
This is where the magic happens. After weeks of looking at studs and drywall, you’ll finally see your house start to feel like a home. The interior finishing stage is an incredibly busy time, with tradespeople moving in and out, layering in all the details that bring your vision to life.
Because so many different elements come together here, this phase has one of the widest timeframes in the entire build, typically taking anywhere from 8 to 12 weeks. It’s a carefully orchestrated dance of carpenters, painters, cabinet installers, and flooring specialists.
From House to Home: Inside the Finishing Phase
First, the trim carpenters arrive to install baseboards, window casings, and interior doors, giving each room its architectural bones. Right behind them, the painters come in to prime and apply those paint colors you agonized over months ago.
At the same time, the cabinets you picked out are carefully installed in the kitchen, bathrooms, and laundry room. Seeing them in place for the first time is a huge milestone for most homeowners!
The biggest risk to your schedule at this point isn't the work itself—it's the materials. A backordered tile for the primary bathroom or a shipping delay on your hardwood floors can throw a major wrench in the timeline, causing a domino effect that halts multiple trades. This is precisely why your builder pushed you for decisions so early on.
To keep everything flowing smoothly, these items need to be selected, ordered, and preferably sitting in a warehouse or on-site long before this phase kicks off:
- Flooring: All your hardwood, tile, luxury vinyl plank (LVP), and carpet selections.
- Cabinetry & Hardware: The style, finish, and pulls for every cabinet in the house.
- Countertops: Your slab of quartz, granite, or marble should be reserved and ready for fabrication.
- Fixtures: Every light fixture, faucet, and shower head needs to be on hand.
My Two Cents: I’ve seen homeowners save themselves a world of headaches by keeping a simple shared spreadsheet with their builder. Track every selection, its deadline, the order date, and the estimated delivery. It’s a game-changer for spotting potential delays before they become real problems.
Once the flooring is down and the cabinets are set, the countertop company will visit the site to create a perfect template. After they install the counters, the final "trim-out" for the mechanical systems can happen. This is when electricians hang your beautiful light fixtures and install all the outlets and switches. Plumbers follow, hooking up sinks, faucets, toilets, and the dishwasher.
Each step is completely dependent on the one before it, which is why your builder’s role as a coordinator is so critical here. It’s all about bringing together the final pieces of the puzzle before you head into the home stretch.
Common Questions About Building a Home
Starting the journey of building a custom home is exciting, but it almost always comes with a long list of questions. The new home construction timeline has a lot of moving parts, so it’s wise to get ahead of any potential bumps in the road.
Let’s walk through some of the most frequent concerns we hear from clients just starting out.
How Should We Handle Delays?
It’s an unfortunate reality that even the most perfectly planned project can run into delays. The real test is how your build team manages them. More often than not, the holdups come from things like unpredictable weather, surprise material backorders, or backed-up municipal inspection schedules.
A seasoned builder always builds a buffer into the timeline for these very things and keeps solid lines of communication with their suppliers. Your best defense is staying informed, so make sure your builder provides regular, clear updates. You should never feel like you're in the dark about your own home's progress.
A pro tip from our experience: Lock in all of your design selections as early as you possibly can. Hesitating on finishes like tile, flooring, or light fixtures is one of the biggest sources of preventable delays once the interior work gets going.
Will the Budget Change During Construction?
Your contract should be as thorough as possible, but custom home building is, by nature, a fluid process. Any changes you request after the plans are finalized—what we call change orders—will almost certainly affect the final price. For instance, swapping out the planned quartz countertops for a high-end marble slab will naturally add to both material and labor costs.
Unexpected issues can also pop up. You never truly know what’s underground until you start digging, and hitting a massive rock ledge can add significant excavation costs. This is why a good builder will insist on a contingency fund, usually 5-10% of the total project cost, to handle these surprises without derailing your entire budget.
What Is Our Role During the Build?
Your most important job is to be an engaged and decisive partner. While your builder manages the day-to-day chaos of the job site, you need to be ready to make decisions on selections and sign off on any change orders without delay.
We also can't overstate the value of regular site visits. Stopping by once a week lets you see the progress firsthand, which helps you visualize the final space and catch anything that seems off. Using a detailed new home construction inspection checklist can make these visits even more productive, giving you the confidence to ask smart questions and ensure every detail is just right.
At CJMC Build, we’re firm believers that a transparent, collaborative process is the only way to build a successful custom home. If you’re ready to start planning your dream home in the Nashville area, contact us today for a consultation.

