


Building a custom home in Middle Tennessee is an exhilarating journey, a process of turning a vision into a tangible reality. However, the excitement of watching your modern farmhouse or luxury estate take shape can sometimes overshadow the critical need for vigilance. Defects that are minor during construction can become major, costly problems after you’ve moved in. A leaky pipe hidden behind drywall or a poorly sealed window frame might not be apparent for months or even years, leading to extensive damage and frustrating repairs. This is where a proactive, detailed inspection process becomes your most valuable asset.
This comprehensive new home construction inspection checklist is designed to empower you, the homeowner, architect, or investor, to be an active participant in quality control. We’re moving beyond the standard final walkthrough. Instead, we provide a phase-by-phase guide, from the initial foundation pour to the final systems check, ensuring that every crucial element is scrutinized at the right time. Catching a mistake during the framing stage is far simpler and less expensive than addressing it after the electrical and plumbing systems are installed.
This guide will arm you with specific, actionable items to look for at each major milestone of your build. You will learn what to inspect during the foundation, framing, roofing, and mechanical rough-in stages, all the way through to insulation, drywall, and final finishes. By following this structured checklist, you can collaborate more effectively with your general contractor, ensure that high standards are met, and protect the long-term value and integrity of your investment. This isn't just about building a house; it's about building a home with confidence and peace of mind.
1. Foundation & Site Preparation
The foundation is the single most critical component of your new home. It’s the literal base upon which every other part of the structure rests. A thorough foundation inspection on your new home construction inspection checklist verifies that the site preparation, concrete work, and waterproofing meet engineering specifications and local building codes, preventing catastrophic issues like settling, cracking, and water intrusion down the line.
This phase begins before any concrete is poured. It involves verifying proper site grading to ensure water flows away from the home, testing soil for stability, and confirming that footings are excavated to the correct depth-a crucial step in areas with frost lines, like parts of Tennessee.
Key Inspection Points for Foundation and Site
When inspecting the site and foundation, focus on these critical areas:
- Proper Grading: The ground should slope away from the foundation on all sides. A minimum slope of 6 inches over the first 10 feet (a 1:20 slope) is standard to prevent water from pooling against the walls.
- Drainage Systems: Verify the installation and proper placement of all exterior and interior drainage systems, such as French drains or footing drains. If a sump pump is part of the plan, confirm its installation and test its functionality.
- Concrete and Reinforcement: Before the pour, check that steel rebar or mesh is correctly placed according to the architectural plans. After the pour, and once the concrete has cured (typically 7 to 28 days), look for excessive cracking, honeycombing, or signs of a poor mixture.
Pro Tip: Document the foundation process with photographs at every stage: before the pour (to see rebar and formwork), during the pour, and after the forms are removed. This documentation can be invaluable if issues arise later.
The expertise required for this stage is immense, as mistakes are incredibly difficult and expensive to fix once the house is built. Working with a builder who understands the unique geological conditions of your property is non-negotiable. For those building in the Nashville area, a reputable custom home builder in Tennessee will have extensive experience with the local soil and climate, ensuring your foundation is built to last.
2. Framing & Structural System
The framing is your home’s skeleton, providing the essential shape and strength for everything that follows. A meticulous framing inspection on your new home construction inspection checklist is crucial to confirm that walls, floors, and the roof system are built according to architectural plans and local codes. This stage ensures structural integrity, preventing future problems like sagging floors, cracked drywall, and compromised safety.
This inspection phase takes place after the foundation is cured and before any insulation or drywall is installed, a period often called the "rough-in" stage. It’s the only time the home’s entire structural system is exposed, making it a critical window for verification. Inspectors check everything from the spacing of wall studs and floor joists to the proper installation of load-bearing headers and beams.
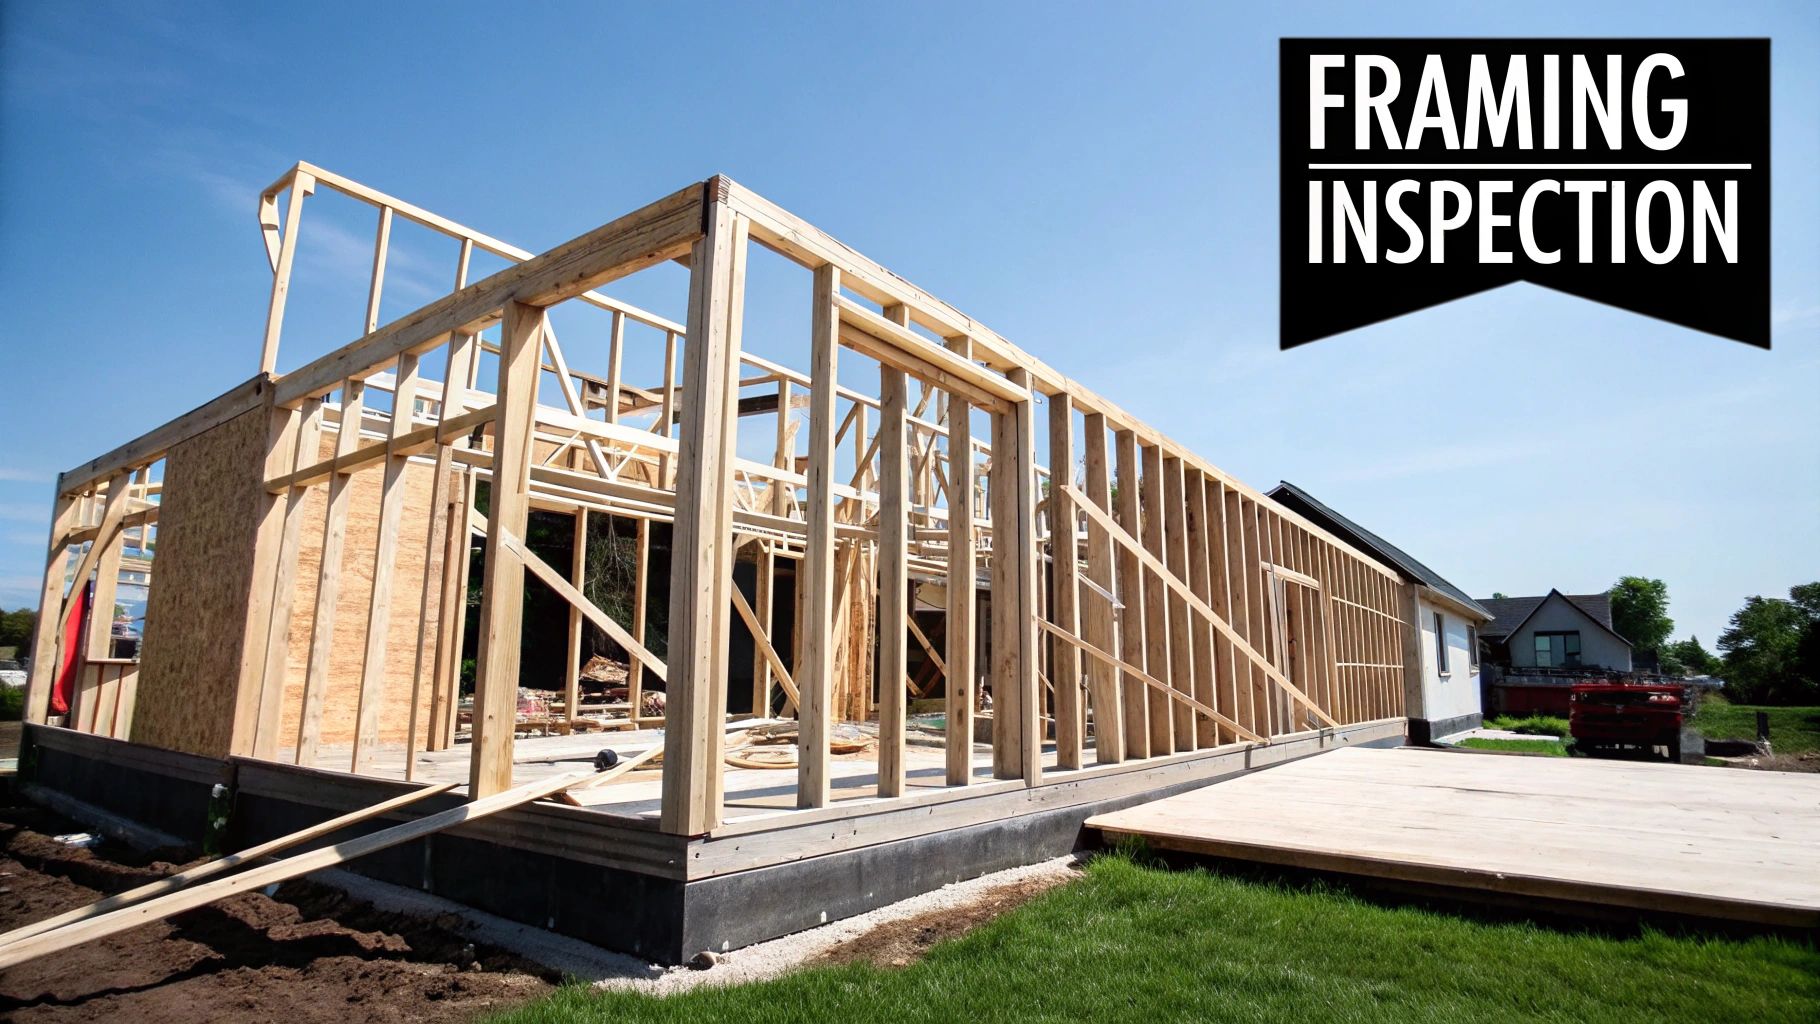
Key Inspection Points for Framing and Structure
When inspecting the framing, focus on these vital elements to ensure long-term stability:
- Load-Bearing Elements: Verify that all load-bearing walls, headers over windows and doors, and support beams are correctly sized and placed according to the blueprints. For instance, in Florida, this includes checking that hurricane-rated straps and connections are properly installed to resist high winds.
- Material Quality and Fastening: Inspect the lumber for significant defects like large knots, warping, or splitting. Confirm that all fasteners (nails, screws, straps) meet engineering specifications and are neither underdriven nor overdriven, as this can compromise their holding power.
- Layout and Alignment: Check that walls are plumb (perfectly vertical), corners are square, and studs and joists are spaced correctly, typically 16 or 24 inches on-center. Ensure any engineered trusses, common in regions with heavy snow loads, are braced correctly to handle their specified capacity.
Pro Tip: Use a long level (4-foot or 6-foot) to check walls for plumb and floors for levelness. Also, bring a copy of the architectural plans with you to cross-reference the placement of every window, door, and interior wall.
Mistakes made during framing ripple through the rest of the construction process, affecting everything from drywall finishing to cabinet installation. Partnering with a skilled builder who employs experienced framers is essential. A detail-oriented custom home builder in Tennessee will ensure your home’s structure is not just up to code, but built to a higher standard of quality and precision that you’ll appreciate for decades.
3. Roof Installation & Weather Tightness
The roof serves as the home's primary shield against the elements, making its proper installation a non-negotiable part of your new home construction inspection checklist. This inspection phase verifies that all roofing components, from the underlayment and shingles to flashing and ventilation, are installed correctly to prevent water intrusion, leaks, and costly structural damage. A well-installed roof is fundamental to the long-term integrity and energy efficiency of your home.
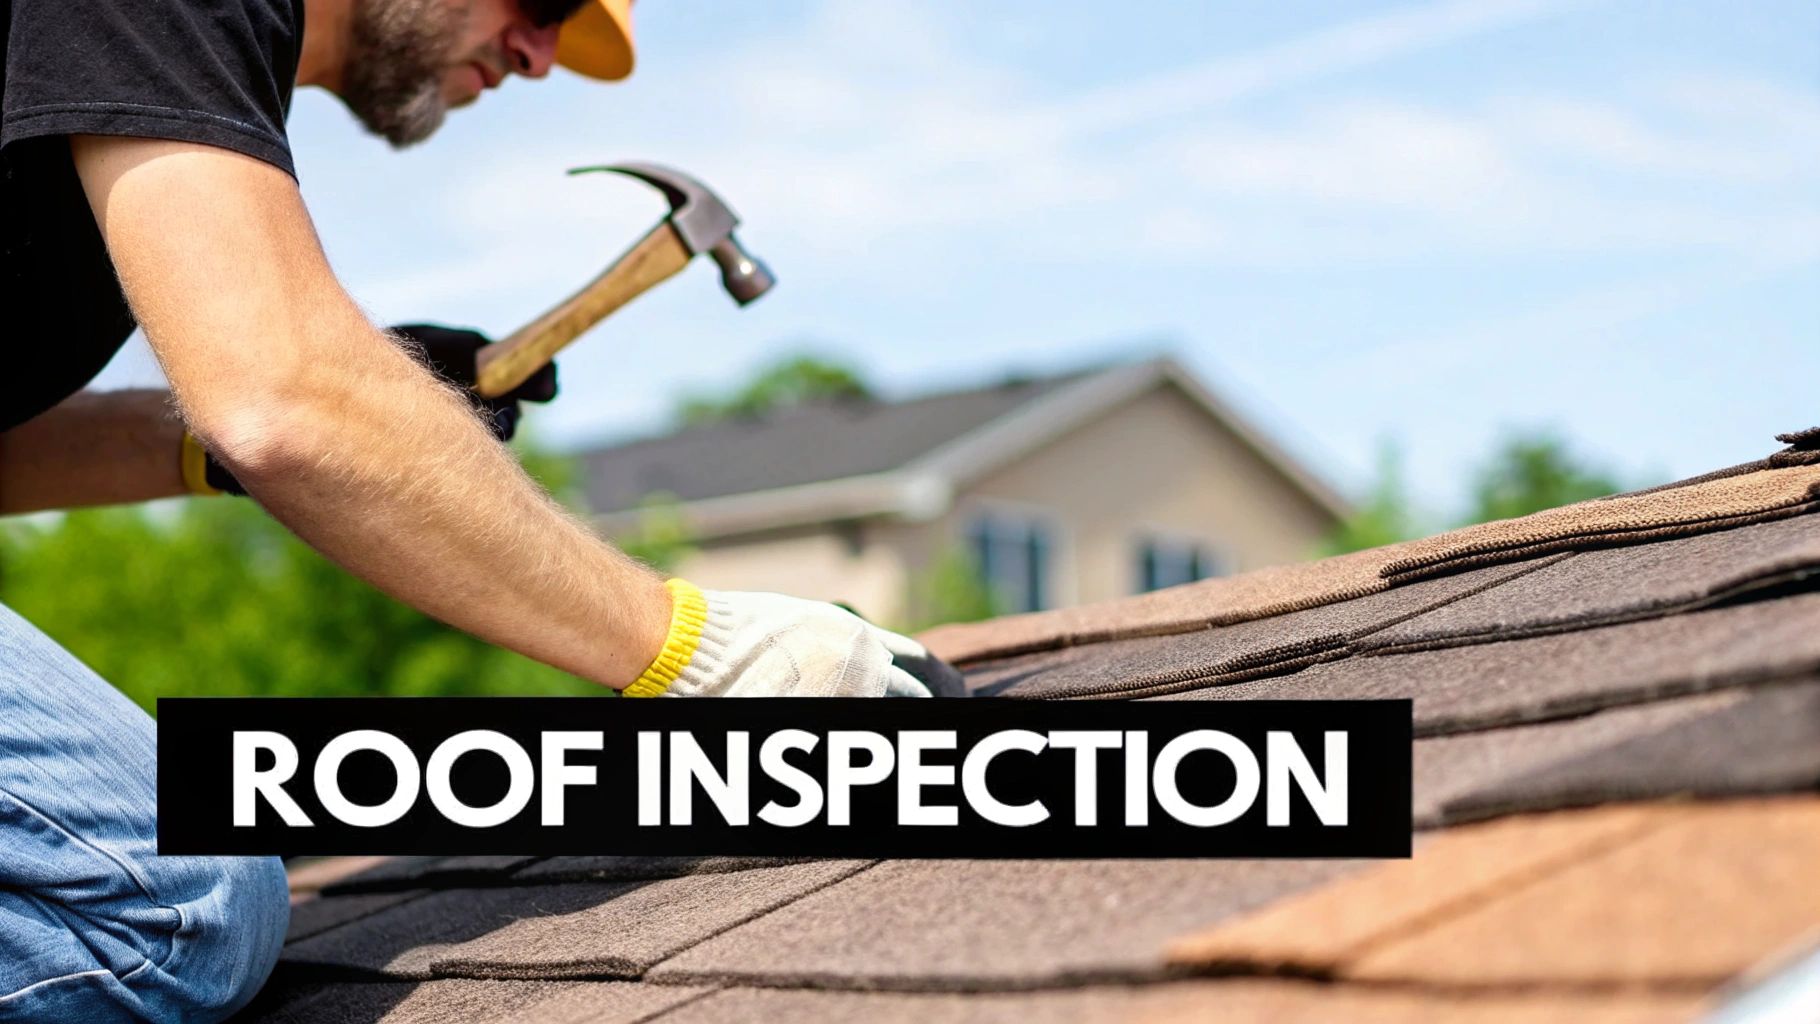
This critical stage focuses on creating a weather-tight envelope. For instance, homes in coastal regions require hurricane-rated fasteners and specialized sealants to withstand high winds, while homes in the Northeast utilize premium ice and water shields in valleys and eaves to combat ice damming. In warmer climates like Arizona, light-colored or reflective roofing materials are used to reduce cooling costs, a practice gaining traction nationwide with ENERGY STAR certified products.
Key Inspection Points for Roofing
When inspecting the roof installation, focus on these critical areas:
- Material and Fastener Compliance: Confirm that the roofing materials match the specifications in your building plan and that they carry the appropriate certifications and warranties. Check for correct nail placement and patterns; for architectural shingles, this often means 4 to 6 nails per shingle, driven flush without being overdriven or underdriven.
- Flashing and Penetrations: Every point where the roof is penetrated, such as by vents, chimneys, or skylights, must be properly sealed with manufacturer-approved flashing. Inspect these junctures meticulously, as they are the most common sources of leaks.
- Ventilation System: A balanced ventilation system is crucial for attic health and energy efficiency. Verify that the soffit intake ventilation is correctly paired with ridge or gable exhaust ventilation to allow for proper airflow, preventing moisture buildup and heat accumulation.
Pro Tip: Before the final walkthrough, walk the perimeter of the home after a heavy rainstorm. Look for any signs of uneven water shedding from the roof or pooling near the foundation, which could indicate issues with the roof or gutter installation.
Ensuring your roof is installed to the highest standard requires a builder with a deep understanding of regional weather patterns and building science. A contractor experienced in building modern farmhouses in Tennessee will know the best practices for managing the local climate's heavy rain and humidity, safeguarding your investment for decades to come.
4. Electrical System Installation
The electrical system is the central nervous system of your home, powering everything from lights and appliances to smart home technology. A rigorous electrical inspection is a non-negotiable part of your new home construction inspection checklist. It verifies that all wiring, outlets, switches, and the main service panel are installed correctly according to the National Electrical Code (NEC), ensuring safe power distribution and protecting your family from fire and electrocution hazards.
This phase of inspection typically occurs after the rough-in wiring is complete but before the drywall is installed. This "open wall" inspection allows for a clear view of the wiring runs, junction box placements, and connections. It confirms the system has adequate capacity for modern living, including considerations for high-draw appliances, potential EV charging stations, and smart home integrations.
Key Inspection Points for Electrical Systems
When inspecting the electrical rough-in, focus on these critical areas:
- Wiring and Circuitry: Confirm that the wire gauge is appropriate for each circuit's amperage (e.g., 14-gauge for 15-amp circuits, 12-gauge for 20-amp circuits). Verify that dedicated circuits are run for major appliances like refrigerators, dishwashers, and microwaves. Modern homes, especially with open-concept layouts, require strategically placed outlets to avoid reliance on extension cords.
- Safety Features: Ensure Ground Fault Circuit Interrupter (GFCI) protection is installed for all outlets in kitchens, bathrooms, garages, and outdoor areas. Arc Fault Circuit Interrupter (AFCI) protection should be present on circuits in bedrooms and living areas as required by code to prevent fires from dangerous electrical arcs.
- Panel and Grounding: Check that the main electrical panel is correctly installed with clear labeling for each circuit. The home's grounding and bonding system must be properly connected to provide a safe path for fault currents, a fundamental safety requirement.
Pro Tip: Plan for the future. Even if you don't own an electric vehicle now, consider having your builder run a dedicated 240V circuit to the garage for a future EV charger. This is far more cost-effective to do during construction than as a retrofit.
A faulty electrical installation is one of the most dangerous deficiencies a new home can have. The standards set by the National Fire Protection Association (NFPA) are designed to prevent disaster. Therefore, it is essential that all work is performed by a licensed electrician and passes a formal inspection by a certified third-party inspector or the local code enforcement official before any walls are closed up.
5. Plumbing System Installation
A home's plumbing system is its circulatory system, delivering fresh water and removing waste. A comprehensive plumbing inspection is a non-negotiable part of your new home construction inspection checklist, ensuring that all supply lines, drains, vents, and fixtures are installed correctly, pressurized to code, and free from leaks. Getting this right prevents catastrophic water damage, dangerous sewage backups, and potential health hazards from cross-contamination.
This critical phase happens in stages, primarily during the rough-in (before drywall is installed) and the final trim-out. The rough-in inspection is particularly vital as it's the last chance to see the "bones" of the system, including the pipe routing, connections, and venting hidden within the walls. Modern systems often use flexible PEX tubing instead of traditional copper, which requires specific installation techniques.
Key Inspection Points for Plumbing
When your inspector examines the plumbing, they should focus on these critical areas:
- Pressure Testing: Before the walls are closed up, the entire water supply system should be pressurized (typically with air or water) and hold that pressure for a specified time to reveal any leaks in the pipes or fittings.
- Proper Drainage and Venting: All drain lines must have the correct downward slope (typically a quarter-inch per foot) to allow gravity to do its job. Every fixture must be properly vented to prevent sewer gases from entering the home and to ensure drains flow smoothly.
- Fixture and Valve Accessibility: Key components like the main water shutoff valve, shutoffs for individual fixtures (sinks, toilets), and cleanouts for drains must be installed in logical, accessible locations for future maintenance and emergencies.
Pro Tip: During the final walkthrough, test every single faucet, toilet, and shower. Run them simultaneously to check for significant drops in water pressure. Listen for any "water hammer" noises when you turn faucets off quickly, as this could indicate a need for arrestors.
A flawless plumbing installation is a hallmark of a quality build. Any builder worth their salt, particularly those constructing custom homes in Tennessee, will work with licensed master plumbers who adhere to the strictest codes set by bodies like the Plumbing-Heating-Cooling Contractors Association (PHCC). This ensures your home’s water systems are safe, efficient, and built for long-term reliability.
6. HVAC System Installation
Your home’s heating, ventilation, and air conditioning (HVAC) system is its respiratory system, responsible for comfort, air quality, and energy efficiency. A detailed HVAC inspection on your new home construction inspection checklist confirms that all components are correctly sized, installed, and balanced for your specific home. Overlooking this stage can lead to uncomfortable hot and cold spots, poor indoor air quality, and unnecessarily high energy bills for years to come.
This inspection phase occurs during the rough-in (before drywall) to check ductwork and again after the system is fully installed and operational. It’s not just about making sure the heat or AC turns on; it’s about verifying the entire system works harmoniously and efficiently, from the furnace and air handler to the duct layout and thermostat programming.
Key Inspection Points for HVAC Systems
When inspecting the HVAC installation, focus on these critical areas:
- Proper Sizing: The system must be sized based on a Manual J load calculation, which considers your home's size, window placement, insulation, and local climate. An oversized system will cycle on and off too frequently (short-cycling), failing to dehumidify properly, while an undersized one will run constantly without ever reaching the desired temperature.
- Ductwork Integrity: All duct runs should be as straight and short as possible. Check that all joints, seams, and connections are thoroughly sealed with mastic or foil tape, not just standard duct tape, to prevent costly air leaks. Ensure ducts are properly supported and not kinked or crushed.
- System Commissioning: Once installed, the system must be properly commissioned. This includes verifying the correct refrigerant charge (using the subcooling or superheat method), checking airflow at each register, and ensuring proper drainage for the condensate line to prevent water damage.
Pro Tip: Before installation, insist on seeing the builder's Manual J calculation to confirm the system size. After installation, request a commissioning report that documents key performance metrics like static pressure, airflow (CFM) at each vent, and refrigerant levels.
Proper HVAC installation is a blend of science and craftsmanship. An incorrectly installed high-efficiency unit will perform worse than a properly installed standard one. Partnering with a builder who prioritizes NATE-certified technicians is crucial for ensuring your system delivers the comfort and efficiency you paid for, especially in the variable climate of Tennessee.
7. Insulation & Air Sealing
Proper insulation and air sealing are the invisible workhorses of an energy-efficient and comfortable home. This critical inspection on your new home construction inspection checklist verifies that the thermal barrier is continuous, installed to the correct R-values, and that all potential air leaks are sealed. Getting this stage right prevents drafts, reduces energy bills, and helps control moisture, which can lead to mold and structural decay.
This inspection phase occurs after framing and rough-in work for MEP (mechanical, electrical, plumbing) systems are complete but before drywall is installed. It's a one-time opportunity to see the "bones" of your home's thermal envelope. In modern construction, especially in high-performance homes like those built to Passive House or Net-zero standards, the focus is on creating a completely sealed and continuously insulated building envelope.
Key Inspection Points for Insulation and Air Sealing
During the pre-drywall inspection, you or your inspector should meticulously check these elements:
- Complete Coverage: Ensure insulation fills every cavity completely without gaps, voids, or compression. Compressed batt insulation loses its effective R-value, creating cold spots on your walls.
- Air Barrier Integrity: Check that all penetrations for wires, pipes, and ducts are sealed with appropriate caulk, foam, or gaskets. This includes sealing around windows, doors, and the joints between the foundation and framing.
- Correct R-Values: Verify that the installed insulation's R-value (a measure of thermal resistance) meets or exceeds the requirements in your building plans and local energy codes for walls, ceilings, and floors.
Pro Tip: For ultimate quality assurance, consider requesting a blower door test. This diagnostic tool depressurizes the house, making it easy to find and fix hidden air leaks with a smoke pencil or infrared camera before the drywall goes up.
The difference between a drafty, expensive-to-heat house and a comfortable, efficient one often comes down to the attention to detail during this stage. A builder committed to modern building science will understand that simply stuffing insulation into walls isn't enough; creating an airtight seal is just as important.
8. Drywall & Interior Wall Systems
The drywall stage is where your house truly starts to feel like a home, as the bare framing is covered, and distinct rooms take shape. A meticulous drywall inspection is a vital part of your new home construction inspection checklist because it directly impacts the final aesthetic quality of your interior. This phase verifies that wallboards are hung, taped, and finished correctly, creating the smooth, seamless surfaces necessary for a high-quality paint job and preventing future issues like visible seams, cracks, or nail pops.
This inspection is about more than just a smooth finish. It confirms that the correct type of drywall is used in specific locations. For instance, moisture-resistant "green board" or "purple board" is essential in high-humidity areas like bathrooms and kitchens, while fire-rated drywall (Type X) is often required by code for walls separating the garage from the living space.
Key Inspection Points for Drywall and Interior Walls
Before the painters arrive, carefully examine the drywall for these critical details:
- Fastener Placement: Check that screws or nails are set at the proper depth-dimpled just below the paper surface without tearing it. Fasteners that are too deep or too shallow can lead to "nail pops" later on.
- Seamless Joints: Run your hand over the taped seams between drywall sheets. They should feel completely smooth, with no noticeable ridges, valleys, or tool marks.
- Surface Integrity: Inspect all wall and ceiling surfaces for any signs of bubbling tape, cracks, gouges, or other damage that may have occurred during installation. These imperfections will be amplified once painted.
- Corner and Edge Finishing: Verify that all inside and outside corners are straight, sharp, and properly finished with corner bead. Look for consistent, clean lines where walls meet ceilings and floors.
Pro Tip: Use a bright flashlight held at a sharp angle against the wall surface. This technique, known as "raking light," will reveal subtle imperfections, waves, and poorly finished joints that are invisible in flat, overhead lighting. Note these spots with painter's tape for the crew to correct.
A flawless drywall finish requires significant skill and attention to detail. It sets the stage for all subsequent interior finishes, from paint to trim work. Ensuring this step is executed perfectly is crucial for achieving a high-end, professionally finished look throughout your new home.
9. Windows, Doors & Exterior Openings
The windows, doors, and other exterior openings of your home serve as both functional necessities and critical design elements. A meticulous inspection of these components on your new home construction inspection checklist is vital to ensure they are properly installed, sealed, and operational. Correct installation prevents major issues like water intrusion, air leaks, energy loss, and even structural damage over time, safeguarding your home’s efficiency and integrity.
This inspection phase focuses on how each unit is integrated into the wall assembly. It's not just about the window or door itself, but about the flashing, sealing, and fastening that create a weatherproof barrier. An improperly installed window can leak water into the wall cavity, leading to rot and mold that can go unnoticed for years until significant damage has occurred.
Key Inspection Points for Windows and Doors
When inspecting all exterior openings, focus on these critical areas:
- Proper Flashing and Sealing: Verify that water-resistant flashing has been correctly installed around the entire opening, layered like shingles to direct water away from the frame. The sealant or caulk around the exterior should be continuous and properly tooled for a weatherproof seal.
- Level, Plumb, and Square: Each window and door frame must be installed perfectly level (horizontally), plumb (vertically), and square (90-degree corners). Use a level to check. If a unit is out of alignment, it will not operate smoothly and may fail to seal correctly.
- Operation and Hardware: Open and close every single operable window and door, including locking mechanisms and handles. They should move freely without sticking or requiring excessive force. Weatherstripping should make firm, even contact when closed to create an airtight seal.
Pro Tip: Look at the gap between the door and its frame. It should be consistent all the way around, typically about the thickness of a nickel. Uneven gaps are a clear sign of an improper installation that can lead to drafts and operational issues.
The aesthetic impact of windows and doors is just as important as their function, defining a home's character. For styles like the popular modern farmhouse, the right window and door selection is crucial for achieving an authentic look. Exploring various modern farmhouse design ideas can provide inspiration for how these elements can elevate your home's curb appeal and interior ambiance.
10. Final Walkthrough & Systems Testing
The final walkthrough is the comprehensive, all-encompassing inspection that happens just before you take possession of your new home. This isn't a quick glance; it's a meticulous verification that every component is installed correctly, all systems are fully operational, and the home meets the agreed-upon standards of quality. A detailed final review on your new home construction inspection checklist ensures that any outstanding issues are documented and addressed before closing, providing peace of mind as you step into your finished home.
This critical stage confirms that all previous inspection notes have been resolved and that the home is 100% complete. It involves methodically testing every switch, faucet, and appliance to ensure they function as intended. This is your last official opportunity to identify defects, cosmetic flaws, or incomplete work for the builder to correct under the construction agreement.
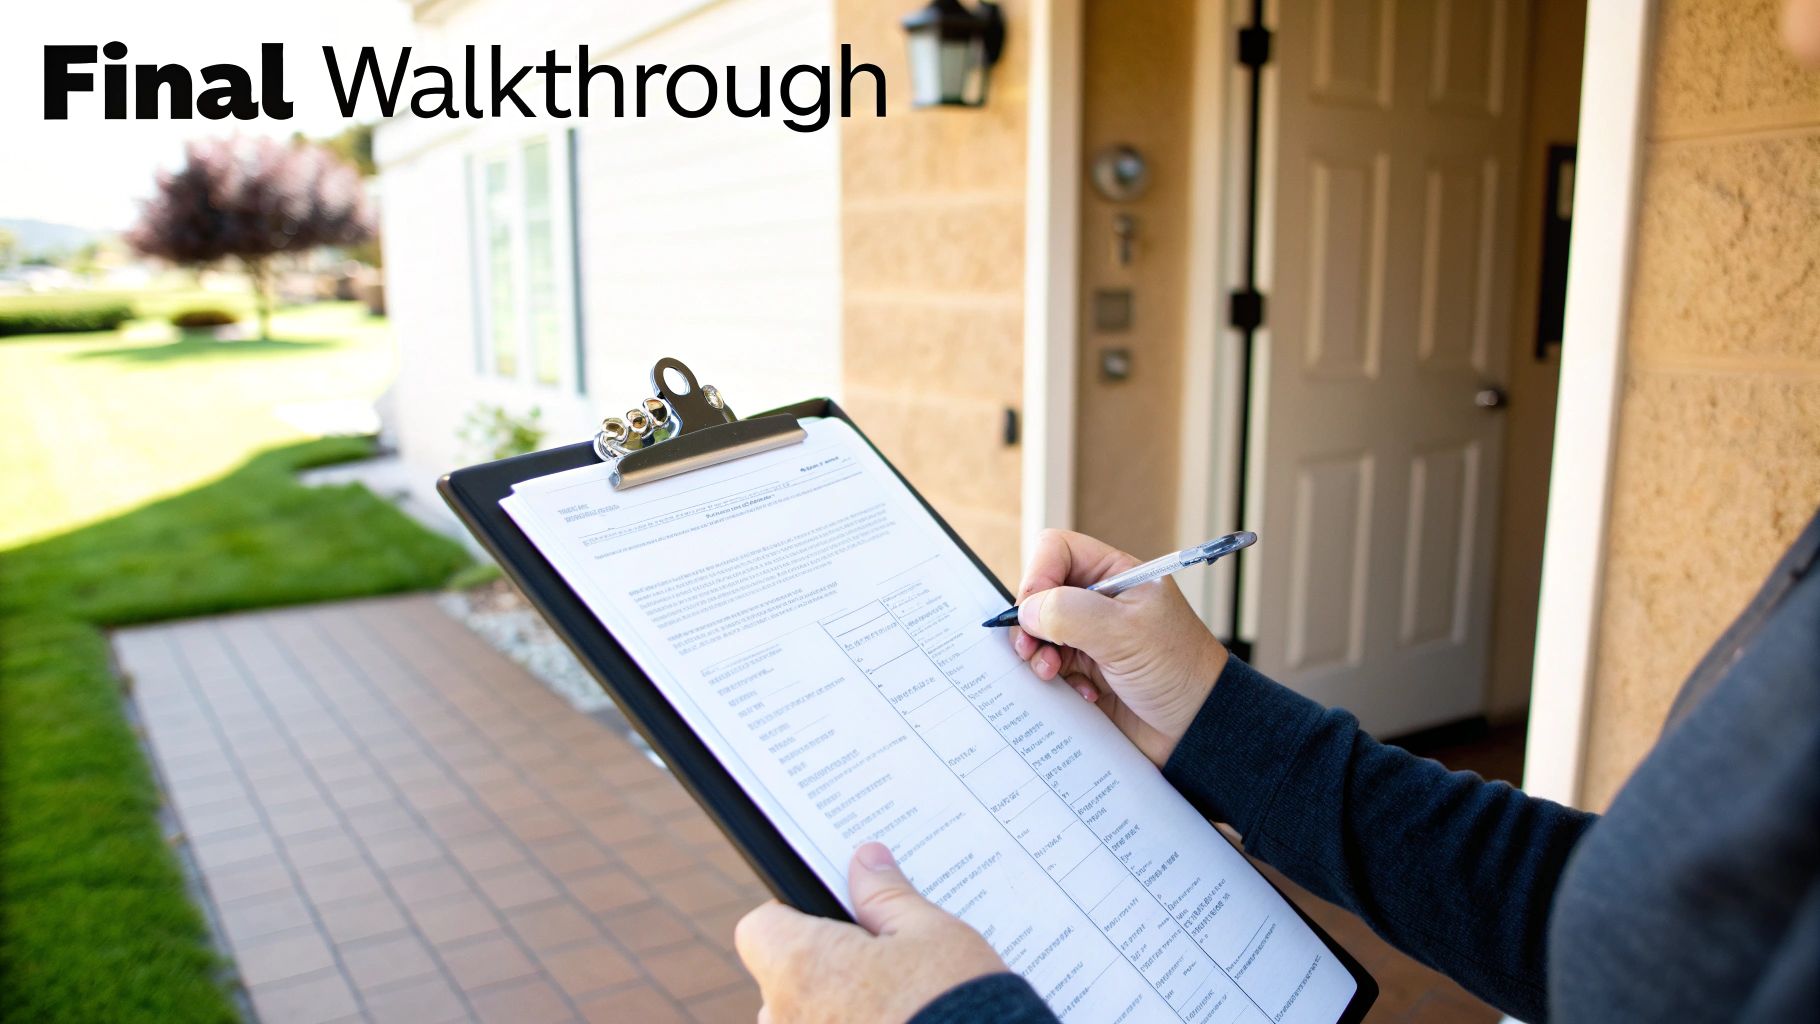
Key Inspection Points for the Final Walkthrough
During this final and most thorough inspection, focus on systematic testing and documentation:
- Create a Punch List: Walk through every room with your builder and create a detailed "punch list" of every item that needs attention, from a paint smudge to a misaligned cabinet door. Be specific and document everything in writing.
- Systems Verification: Test all mechanical, electrical, and plumbing (MEP) systems. Turn every light switch on and off, test every outlet with a plug-in tester, run the HVAC in both heating and cooling modes, and check water pressure and temperature at every fixture.
- Appliance and Fixture Operation: Operate every single appliance through a full cycle if possible. Run the dishwasher, test the oven and stovetop, and check the microwave. Open and close every window and door, testing the locks and latches to ensure smooth operation.
Pro Tip: Bring blue painter's tape to the walkthrough. Place a small piece next to every flaw you find, like a paint drip, scuff mark, or nail pop. This creates a clear visual guide for the builder's crew to locate and fix each item on your punch list without confusion.
The final walkthrough is your seal of approval on a months-long project. It's the culmination of every prior phase, ensuring the finished product is not just beautiful but also safe, functional, and built to last. For a deeper dive into what this entails, you can get a comprehensive new home construction checklist to guide you through every detail.
10-Point New Home Construction Inspection Comparison
| Component | 🔄 Implementation complexity | ⚡ Resource requirements | ⭐ Expected outcomes | 💡 Ideal use cases | 📊 Key advantages |
|---|---|---|---|---|---|
| Foundation & Site Preparation | High 🔄🔄🔄 — geotech, grading, waterproofing | High ⚡⚡⚡ — testing equipment & specialists | ⭐⭐⭐ — stable structure; prevents settling & water damage | New builds, high water table, frost-prone or coastal sites | 📊 Catches structural issues early; protects value and insurability |
| Framing & Structural System | High 🔄🔄🔄 — load calculations, accurate layout | High ⚡⚡⚡ — timber/engineered beams & skilled carpenters | ⭐⭐⭐ — code-compliant structural safety | All new construction and major remodels needing load support | 📊 Prevents sagging/cracking; easier repairs before wall closure |
| Roof Installation & Weather Tightness | Medium 🔄🔄 — material-specific techniques, safe access | Medium ⚡⚡ — roofing materials, flashing, safety gear | ⭐⭐⭐ — weatherproof envelope; warranty compliance | Regions with heavy rain, snow, or coastal exposure | 📊 Prevents leaks and interior damage; extends roof lifespan |
| Electrical System Installation | High 🔄🔄🔄 — NEC compliance, circuit design | High ⚡⚡⚡ — licensed electricians, panels, testing gear | ⭐⭐⭐ — safe power distribution; reduces fire/electrocution risk | Smart homes, EV charging, high-demand electrical loads | 📊 Ensures safety, insurance/lender acceptance, future capacity |
| Plumbing System Installation | Medium 🔄🔄 — routing, venting, pressure testing | Medium ⚡⚡ — licensed plumbers, pressure test equipment | ⭐⭐⭐ — reliable water delivery and drainage; health protection | Modern fixtures, radiant systems, water-conservation designs | 📊 Prevents leaks/contamination; avoids costly post-finish rework |
| HVAC System Installation | High 🔄🔄🔄 — Manual J sizing, duct balancing | High ⚡⚡⚡ — equipment, certified technicians, commissioning | ⭐⭐⭐ — comfort, IAQ, energy efficiency when correct | Zoned systems, energy-efficient or heat-pump installations | 📊 Lowers energy use; improves comfort and equipment longevity |
| Insulation & Air Sealing | Medium 🔄🔄 — proper R-values and air-barrier detailing | Medium ⚡⚡ — insulation materials, blower-door testing | ⭐⭐⭐ — reduced energy use; consistent indoor temps | Energy-code compliance, passive house, retrofit air-sealing | 📊 Significant HVAC savings; reduces condensation and drafts |
| Drywall & Interior Wall Systems | Low-Medium 🔄🔄 — finish skill critical | Low ⚡⚡ — materials and skilled finishers | ⭐⭐ — smooth interiors; fire/sound separation where required | Interior finishing, fire-rated partitions, aesthetic focus | 📊 Economical finish; conceals systems and enables final aesthetics |
| Windows, Doors & Exterior Openings | Medium 🔄🔄 — flashing, shimming, drainage details | Medium-High ⚡⚡⚡ — quality units and precise installation | ⭐⭐⭐ — weather-tightness; energy performance | Energy-efficient builds, coastal/hurricane zones, high-end finishes | 📊 Reduces energy loss and water intrusion; improves appearance |
| Final Walkthrough & Systems Testing | Medium 🔄🔄 — coordinated multi-trade verification | Low-Medium ⚡⚡ — time, checklists, basic test tools | ⭐⭐⭐ — occupancy readiness; documented punch list | Pre-occupancy inspection, warranty handover, final permits | 📊 Confirms system operation; creates baseline for fixes and warranty |
Your Blueprint to a Flawless Move-In
Navigating the custom home building process can feel like an overwhelming journey, but with a structured approach, it becomes a clear path to your dream home. This comprehensive new home construction inspection checklist is more than just a list; it is your strategic blueprint. It empowers you to transform from a passive observer into an active, informed participant in the creation of your legacy home in Middle Tennessee. By understanding the critical checkpoints from the initial site work to the final walkthrough, you gain the confidence to ensure every detail meets the highest standards of quality and craftsmanship.
The true value of this phased inspection process lies in its proactive nature. Catching a potential issue during the foundation pour is exponentially less costly and disruptive than discovering it after the drywall is installed. Think of each inspection phase as a quality gate. You are not just looking for mistakes; you are confirming excellence at every stage, ensuring the structural integrity, a weathertight envelope, and perfectly installed mechanical systems that will serve your family for decades. This methodical oversight is the single most effective strategy to prevent budget overruns, avoid frustrating delays, and eliminate the stress of post-move-in repairs.
Key Takeaways for Proactive Homeowners
Let's distill the core principles from our detailed checklist into actionable takeaways that will guide your project to success:
- Documentation is Your Strongest Ally: Your camera and notepad are as crucial as any tool on the job site. Meticulously document every inspection with photos, videos, and dated notes. This creates a clear, indisputable record of the project's progress and provides a reference point for any discussions with your builder.
- Trust, But Verify: While a strong relationship with a reputable builder like those found in Williamson or Rutherford counties is paramount, it is your responsibility as the homeowner to verify the work. A professional builder will welcome your engagement and see it as a shared commitment to quality. Your second set of eyes, or those of your independent inspector, can catch details that might otherwise be overlooked.
- The "Why" Matters: Do not just check off boxes. Understand why each item is important. Knowing that proper flashing around windows prevents water intrusion, or that correctly sized HVAC ductwork ensures efficient comfort, elevates your conversations with contractors from simple questions to informed, productive discussions.
Your Actionable Next Steps to Success
Having absorbed the insights from this guide, it is time to put them into practice. Your next steps are clear and will set the tone for the entire build.
First, bookmark this article. Treat it as a living document throughout your construction journey. Before each key phase begins, review the relevant section to refresh your memory on what to look for.
Second, schedule a pre-construction meeting with your general contractor specifically to review this new home construction inspection checklist. This establishes a shared understanding of expectations from day one. It demonstrates your commitment to quality and opens the lines of communication for a collaborative, transparent process.
Pro Tip: Ask your builder how they conduct their own internal quality control checks. A builder who already has a robust, multi-phase inspection process in place is a strong indicator that you have chosen a partner dedicated to excellence.
Finally, decide on your inspection strategy. Will you conduct the inspections yourself, hire a third-party inspector for key phases, or use a hybrid approach? There is no single right answer, but making this decision early ensures you have the right resources lined up when you need them. Investing in professional inspections for critical stages like pre-drywall and the final walkthrough can provide invaluable peace of mind and is a wise investment in the long-term health of your home. By taking these proactive steps, you are not just building a house; you are meticulously crafting a high-performance, custom home that perfectly reflects your vision and is built to last a lifetime.
For those planning a custom home in the Nashville area, partnering with a builder who embeds this level of quality control into their core process is essential. CJMC Build specializes in bringing architecturally unique visions to life with an unwavering commitment to precision and transparent communication. Visit CJMC Build to see how their meticulous, client-focused approach aligns with the principles of this inspection checklist, ensuring your new home is a masterpiece of quality.

