


Finding the right contractor doesn't start with a phone call—it starts with a solid plan. Before you even think about interviewing professionals, you need to get crystal clear on your own vision, scope, and budget. This groundwork is the single most important thing you can do to ensure you can communicate what you want and accurately compare the bids you'll eventually receive.
Laying the Groundwork: What to Do Before You Hire

You have to become the expert on your own project first. A great renovation doesn't begin when a contractor shows up; it begins with your well-defined vision. I've seen it time and again: rushing this initial planning phase is the fast track to budget overruns, frustrating delays, and constant miscommunication.
Think of this prep stage as creating the blueprint for success. It’s about turning those vague ideas swirling in your head into concrete, actionable details. When you can hand a contractor a clear plan, they can give you a comprehensive and accurate bid. This preparation puts you in the driver's seat, allowing you to lead conversations, ask smarter questions, and feel confident that a potential hire truly gets what you're trying to achieve.
Pinpointing Your Project Scope and Vision
Start by getting everything you envision for the finished space down on paper. This isn't just a wish list; it's a detailed breakdown of your functional needs and aesthetic tastes. The best way I've found to organize this is to split your ideas into two simple categories.
- Must-Haves: These are the absolute non-negotiables. For a kitchen remodel, that might be quartz countertops, a deep undermount sink, and durable LVP flooring. In a primary bathroom, maybe it's a curbless walk-in shower and a double vanity.
- Nice-to-Haves: Think of these as the dream features you'd love if the budget and timeline work out. This could be heated floors in the bathroom, a fancy built-in wine fridge, or going for fully custom cabinetry instead of semi-custom.
This simple exercise brings incredible clarity. It solidifies your core priorities and gives you an immediate roadmap for where to scale back if initial bids come in too high. Without this distinction, every single feature feels essential, making any budget adjustment an emotional tug-of-war.
Building a Realistic Budget (With a Cushion)
Once you've nailed down your scope, it’s time to tackle the money. This is where so many homeowners trip up. They pick a single, rigid number and hope for the best. A much smarter approach is to establish a budget range and—this is crucial—build in a contingency fund.
A contingency fund isn't just a nice idea; it's a non-negotiable part of any responsible construction budget. This fund, which should be 15-20% of your total project cost, is your safety net for the unknowns—things like hidden water damage, unexpected structural issues, or material backorders.
For a project estimated at $50,000, that means setting aside an extra $7,500 to $10,000. This buffer gives you peace of mind and prevents a small hiccup from spiraling into a major financial crisis. It empowers you and your contractor to solve problems without derailing the whole project.
Your Pre-Hiring Project Checklist
Before you start dialing, run through this quick checklist. It's a simple way to confirm you've done the essential homework that sets your project up for success.
| Planning Step | Key Action | Why It Matters |
|---|---|---|
| Scope Definition | Create "Must-Have" vs. "Nice-to-Have" lists. | Prevents scope creep and makes budget adjustments easier. |
| Budgeting | Set a realistic budget range, not just a single number. | Provides flexibility and prevents setting an unobtainable goal. |
| Contingency Fund | Allocate an extra 15-20% for unexpected issues. | Protects your project from being derailed by unforeseen costs. |
| Inspiration Board | Gather photos and examples of the style you want. | Helps contractors visually understand your aesthetic goals. |
| Initial Brief | Consolidate all your notes into a shareable document. | Ensures every contractor bids on the exact same project scope. |
Taking the time to check these boxes shows potential contractors you're serious and organized, which is exactly the kind of client they want to work with.
Pulling It All Together in a Project Brief
Your final prep step is to consolidate all this information into a single, clear document: your project brief. This is the packet you'll share with potential contractors to get those first estimates. A well-crafted brief ensures every professional is bidding on the exact same set of requirements, so you can make a true apples-to-apples comparison.
A great brief contains:
- Project Summary: A quick, one-paragraph overview of your goals.
- The Must-Have List: Your non-negotiable items, spelled out clearly.
- The Nice-to-Have List: Your desired but flexible features.
- Inspiration Photos: Visuals are worth a thousand words.
- Existing Plans or Blueprints: If you have them, include them. If you're new to this, learning how to read architectural blueprints can give you a huge leg up.
Presenting a contractor with a detailed brief like this instantly communicates that you're an organized and serious client. It builds a foundation of mutual respect and clarity from day one, setting the stage for a great partnership long before any contracts are signed.
How to Find and Vet Potential Contractors
Alright, you’ve got your project plan locked down. Now for the hard part: finding the right person to actually build it. The goal here is to create a shortlist of 3-5 highly qualified, trustworthy professionals.
This isn't about a quick "contractor near me" search. Finding a true pro takes a bit more digging, but it's work that pays off tenfold down the road.
Your first stop should be tapping into professional networks. Look up the local chapters of respected building associations, like the National Association of Home Builders (NAHB) or the Associated Builders and Contractors (ABC). Membership isn't just a plaque on the wall; it often means a contractor is serious about their craft and staying on top of industry standards.
Sourcing Reputable Candidates
Nothing beats a solid word-of-mouth referral, but you have to be smart about it. A recommendation is only as good as the project it’s based on.
When you ask friends, family, or coworkers for names, get specific. If you’re planning a major kitchen gut-job, a glowing review for a simple bathroom vanity replacement won’t tell you much. You need someone who has recently finished a project with a similar scope and budget to yours.
Beyond your immediate circle, some of the best leads come from other industry pros who see contractors in action every day.
- Specialty Supply Stores: The folks at the pro desk of a high-end lumberyard or a specialty tile shop know who’s who. They see which contractors pay their bills on time, who insists on quality materials, and whose projects consistently look amazing.
- Architects and Designers: These professionals stake their own reputations on the builders they work with. They're an incredible source for finding contractors who can execute complex, detailed plans without cutting corners.
- Real Estate Agents: A well-connected agent who deals with new builds or renovated homes will have a go-to list of contractors they trust. Their reputation depends on recommending people who deliver quality work.
As you gather a handful of names that seem like a good fit, the real work begins. It’s time to separate the true professionals from those who just talk a good game.
The Non-Negotiable Vetting Process
Before you even think about asking for a bid, every single candidate needs to pass a basic background check. I can't stress this enough. Skipping this step is one of the biggest—and potentially most costly—mistakes homeowners make.
First up, verify their credentials. Every legitimate contractor will have a state license number and should give it to you without hesitation. Your job is to look it up on your state's licensing board website. Make sure it's active and that there are no disciplinary actions against them.
Next, confirm their insurance. This is a deal-breaker. An uninsured contractor puts your home, your finances, and your peace of mind at serious risk.
Ask for proof of two specific policies: General Liability, which covers any damage to your property, and Workers' Compensation, which covers injuries to their crew while on your job site. A pro will have no problem emailing you a current certificate of insurance for both.
Spotting Contractor Red Flags Early
As you do this initial digging, keep an eye out for warning signs. A professional, established business operates in a certain way, and any deviation from that should give you pause.
Think twice about any contractor who:
- Uses a P.O. Box Instead of a Physical Address: A real business has a real address, whether it’s an office or a workshop. A P.O. box can be a way for someone to disappear if things go south.
- Pressures for a Huge Upfront Payment: A deposit is standard, but demanding a massive cash payment (think 25% or more) before a single hammer is swung is a huge red flag. Payments should always be tied to project milestones.
- Lacks a Professional Online Presence: In this day and age, a contractor without a decent website or a portfolio of their work is a cause for concern. It suggests they might not be an established or serious business.
- Is Unresponsive or Hard to Reach: If they can't be bothered to return your call when they're trying to win your business, just imagine how hard they'll be to get ahold of once they have your money.
After this initial sourcing and vetting, you should have a solid list of 3-5 contractors who are licensed, insured, and seem to run a tight ship. These are the pros you’ll invite to bid on your project, getting you one step closer to making it a reality.
Seeing is Believing: How to Vet Portfolios and Check References

Alright, you've narrowed down your list to a few professionals who are properly licensed and insured. Now comes the moment of truth. This is where you separate the talkers from the true craftsmen by digging into their past work and, most importantly, speaking with the people who have hired them before.
A slick website and a confident pitch are one thing, but a contractor's track record is the best predictor of what your experience will be like. Think of it this way: their portfolio is the highlight reel, but references tell you the real story of what happened behind the scenes. Don’t just gloss over this part; it's your most important piece of due diligence.
How to Really Read a Portfolio
A portfolio isn't just a photo gallery; it's a body of evidence. When you start flipping through a contractor's projects, you need to look past the professional photography and put on your detective hat.
It’s easy to be wowed by a stunning photo of a luxury home, but if you’re planning a simple bathroom remodel, that picture doesn't tell you much. You're looking for relevance. Do they have multiple examples of projects similar in scope, style, and budget to yours? That’s what proves they know how to tackle the specific challenges your job will present.
As you browse, get granular and focus on the finishing quality.
- Zoom In on the Details: Look closely at the photos. Are the paint lines crisp? Do the miter joints on the trim meet perfectly? Are the grout lines in the tile work clean and consistent? These little things are the true signature of quality craftsmanship.
- Check for Consistency: Is the quality high across all their work, from a simple deck to a full-blown renovation? A truly great builder doesn't cut corners, no matter the project size.
- Gauge the Project Scale: Has this contractor successfully managed jobs of a similar size and complexity to yours? Someone who excels at quick kitchen updates might not have the project management chops for a major home addition.
This critical eye helps you see beyond the staged "after" shots and assess the actual work. It also helps to know what a high-quality job looks like up close. Getting familiar with a detailed construction quality control checklist can give you a professional framework for what to look for.
The Unvarnished Truth: Talking to Past Clients
A portfolio shows you the final product. References tell you how they got there. This step is completely non-negotiable. Any contractor worth their salt will be eager to provide a list of recent clients. If they balk or make excuses, that's a massive red flag. Your goal should be to speak with at least three of their recent clients.
When you get them on the phone, your mission is to understand what it’s really like to work with this contractor day in and day out. Don't just ask, "Were you happy?" That’s a softball question that almost always gets a polite "yes." You need to ask questions that dig deeper.
The most revealing conversations with references happen when you ask about how problems were handled. No project is perfect; it’s the contractor’s response to unexpected issues that separates the pros from the amateurs.
Here are the questions that will get you the real story:
- Did the project finish on time and on budget? If it didn’t, what were the reasons for the delays or extra costs?
- How did the contractor handle surprises or changes? Were they upfront and fair with their pricing for change orders?
- What was their communication like? Did they keep you in the loop, or did you have to chase them for updates?
- How did they leave the job site each day? A clean, organized site shows respect for your home and a professional attitude.
- Did the final invoice line up with the original quote, besides your approved changes? Were there any last-minute, unexpected fees?
- Here’s the million-dollar question: Knowing everything you know now, would you hire them again without a second thought? Their hesitation—or lack thereof—will tell you everything.
Analyzing Bids and Interviewing Your Shortlist

You’ve done the legwork—checking portfolios, calling references—and now you have a shortlist of what looks like the best local talent. This is where the process gets real. You’re moving from looking at what they’ve done in the past to evaluating what they promise to do for you.
This next phase boils down to two crucial, connected tasks: digging into their bids and sitting down for a final interview.
And let's be clear: this isn't about just grabbing the cheapest price. Honestly, that's often a fast track to a project disaster. What you're really looking for is the best value—a mix of fair pricing, quality craftsmanship, and clear communication. A detailed, transparent bid is your first clue that you're on the right track.
Decoding the Bids: Look Beyond the Bottom Line
When those bids start rolling in, your eyes will naturally want to jump straight to the total cost at the bottom. Resist that urge. The most telling information is always buried in the details.
If you get a vague, one-page estimate, consider it a massive red flag. A good bid is a comprehensive document that breaks everything down so there are no surprises. You want to see a clear, itemized list that shows the contractor has put real thought into your specific project.
Look for these key categories:
- Labor Costs: This should detail the work involved, not just a single lump sum for "labor."
- Material Costs: The proposal should specify the types and quantities of materials, from the brand of windows to the grade of lumber.
- Permit Fees: All costs associated with securing the necessary local building permits should be spelled out.
- Miscellaneous Expenses: This bucket covers the essentials, like dumpsters for debris removal, equipment rentals, and other job-site necessities.
A truly transparent bid does more than just list numbers; it empowers you. It lets you see exactly where every dollar is going and gives you a solid foundation for discussing any changes that might come up later. Think of it as the bedrock of a trustworthy partnership.
Why the Cheapest Bid Is Often the Most Expensive
It happens all the time. One bid comes in way lower than the others, and it feels like you've just won the lottery. More often than not, it’s a warning sign. An unusually low price tag can point to a few serious problems.
Is the contractor cutting corners with cheap materials? Are they using uninsured or unskilled labor? Or are they just desperate for work? Worse, they might be lowballing the initial quote knowing full well they'll make up the difference with a constant stream of expensive "unforeseen" change orders.
A professional bid reflects the true cost of doing the job right with quality materials and skilled labor. Choosing a contractor based on value, not just the lowest price, protects your investment and ensures a result you'll be happy with for years to come.
Cost transparency is a major factor when you're figuring out how to choose a contractor. Rates are always in flux. For example, in the UK, average day rates for freelance professionals jumped from roughly £457 to £576 in less than two years to keep pace with the cost of living—a trend that directly impacts construction pricing. This makes it even more critical to find contractors who are upfront about their costs. You can explore more insights on global contractor rates on RemotePass.com.
Conducting the Final Interview
Once you’ve compared the bids and have a favorite or two, it’s time for a final, face-to-face meeting. This is your chance to get a feel for their personality and communication style. You’re going to be working closely with this person for weeks, maybe months, so you need to know you can get along and communicate effectively.
The goal here isn't just to talk numbers. You need to understand their process. How will they handle the day-to-day realities of a messy, disruptive construction project in your home? This conversation is just as important as their written proposal.
Come prepared with a list of questions to ask each candidate. This lets you compare their answers and see who aligns best with your expectations for communication, problem-solving, and project management.
For a fantastic starting point, check out this guide on the essential questions to ask a home builder before you even think about signing a contract. A great contractor will welcome your questions and give you thoughtful answers, cementing your confidence that they’re the right person to bring your vision to life.
Finalizing the Contract and Setting Expectations
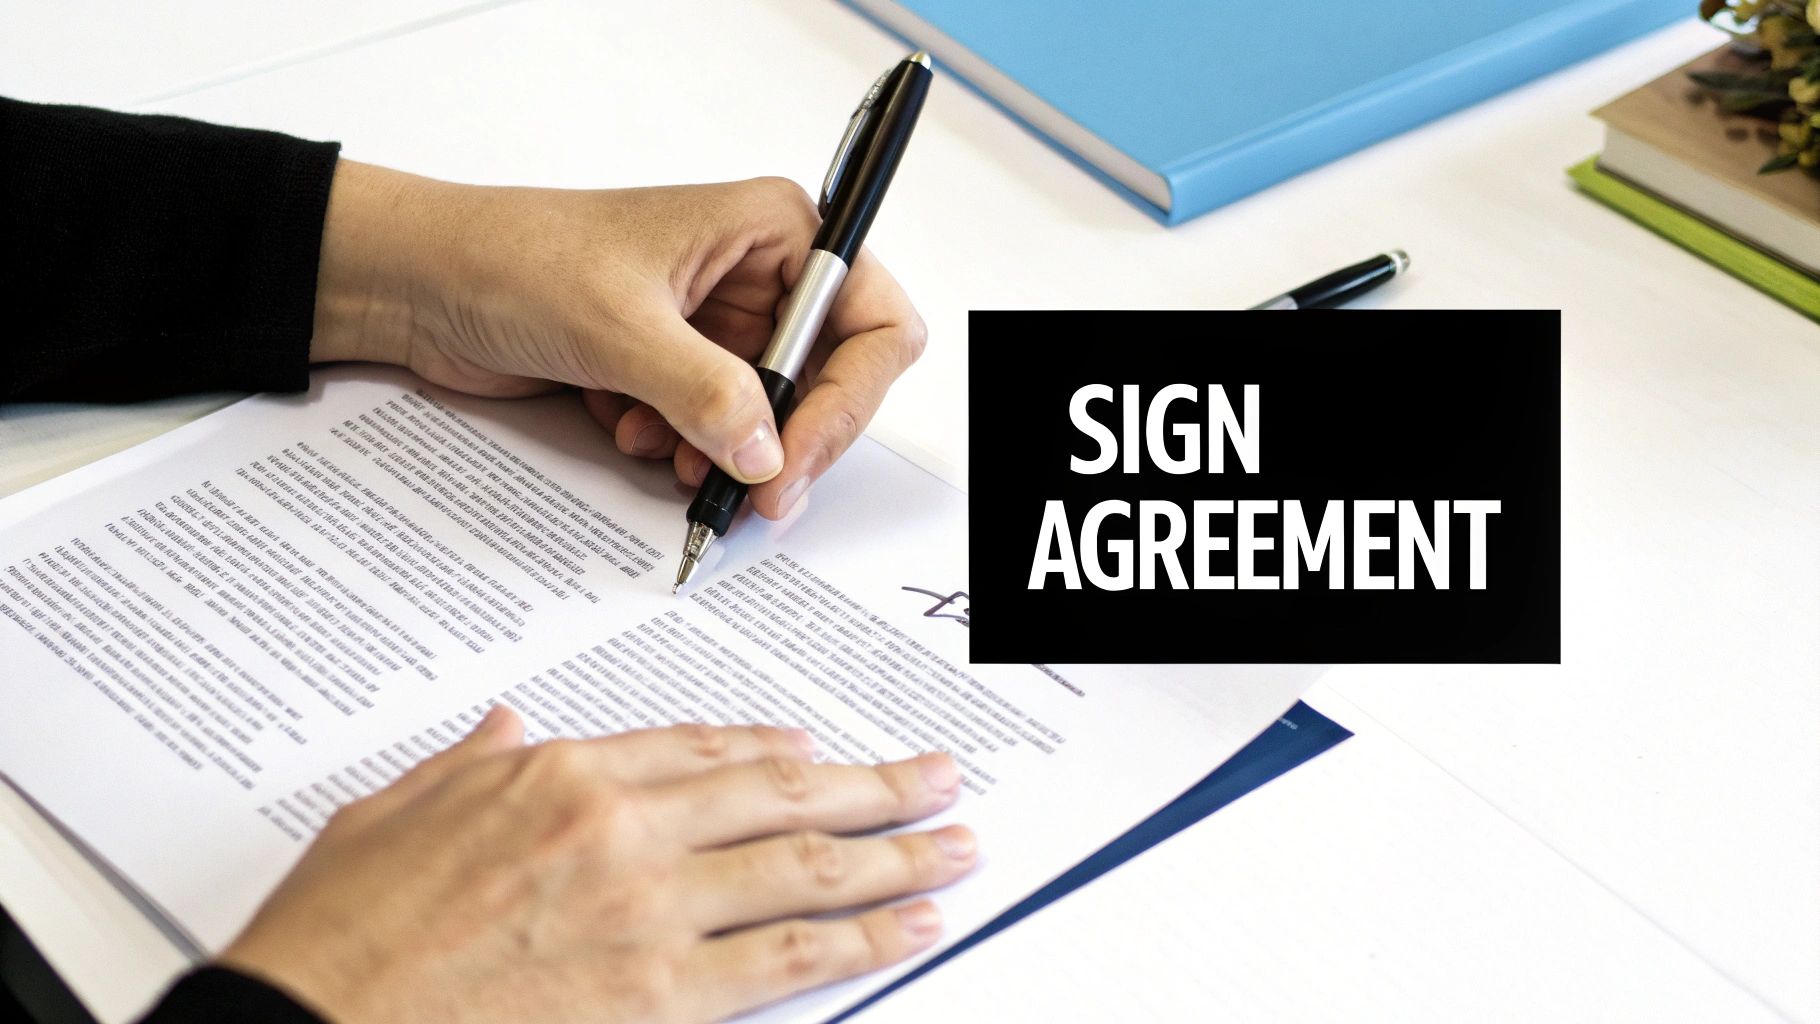
You’ve navigated the bids, checked the references, and finally found a contractor you trust. It’s an exciting moment, but hold off on that celebratory handshake. The most critical step is still ahead: getting every single detail down in a legally binding contract.
This document is far more than a formality. Think of it as the official blueprint for your project and your professional relationship. It protects you, it protects the contractor, and it ensures the vision you've discussed becomes the reality you get.
My golden rule is simple and absolute: if it isn't in writing, it doesn't exist.
Anatomy of a Rock-Solid Contractor Agreement
A vague, one-page agreement is a flashing red light and a recipe for disaster. A professional contract will be a detailed, multi-page document that leaves absolutely nothing open to interpretation. Before you even think about signing, comb through it to make sure it includes these non-negotiable elements.
First up is the scope of work. This shouldn't be a one-sentence summary like "remodel kitchen." It needs to be an exhaustive, line-by-line description of every task to be performed and every material to be used. I’m talking about specifying everything from the brand and model number of the new faucet to the exact paint color code for the walls.
This level of detail is your best friend. It completely eliminates ambiguity and ensures you're both in perfect agreement on what "done" actually looks like.
Structuring Payments to Protect Your Investment
How you pay your contractor is just as important as how much you pay. The single biggest mistake I see homeowners make is paying too much money upfront. A massive down payment nukes your leverage if the work stalls or doesn't meet quality standards.
A professional payment schedule should always be tied to project milestones. This means you release funds only as specific, verifiable stages of the project are completed. It keeps everyone motivated and accountable.
Here’s a practical example of a milestone-based payment plan:
- 10% Deposit: Paid upon signing the contract. This covers initial material orders and permit applications.
- 25% Payment: Released after demolition is complete and rough-in plumbing and electrical have passed inspection.
- 25% Payment: Released once drywall is installed, taped, and finished.
- 25% Payment: Released after cabinets, countertops, and flooring are fully installed.
- 15% Final Payment: Paid only after the final punch list is complete and you have formally signed off on the project.
Never agree to a payment schedule that demands more than a 10-15% deposit. A financially stable contractor has the credit and cash flow to get started without needing a huge cash infusion from you.
This structure keeps the project chugging along and guarantees your payments stay aligned with the tangible progress being made in your home.
Essential Clauses Every Contract Must Have
Beyond the scope and payment schedule, a protective contract includes several key clauses that handle potential problems before they arise. Think of these as the prenuptial agreement for your project; they spell out exactly how you'll handle common bumps in the road.
Your contract must clearly define:
- Change Order Procedures: No project is immune to changes. This clause details the formal process for documenting any adjustments to the original plan. It specifies how the cost and timeline will be affected and requires written sign-off from both you and the contractor before any new work begins.
- Start and Completion Dates: The contract should specify a firm start date and a projected completion date. While delays can happen, having these dates in writing creates real accountability.
- Lien Waivers: This is a critical protection for you. A lien waiver is a document from your contractor (and their subcontractors and suppliers) stating they have been paid and waive any future rights to place a lien on your property. You should get these waivers with each payment you make.
- Dispute Resolution: This clause outlines the steps you'll both take if a disagreement arises that you can't solve informally, such as mediation or arbitration.
Carefully reviewing these components is a vital part of learning how to choose a contractor you can truly partner with. A true professional will welcome a detailed contract because it shows a shared commitment to clarity, accountability, and a successful outcome for everyone involved.
Common Questions When Hiring a Contractor
Even with the best plan, you're bound to have questions when you're hiring a contractor, especially if it's your first time. It can feel like you're learning a whole new language filled with permits, punch lists, and payment schedules. Let's clear up some of the most common sticking points people run into.
Think of this as the practical advice that fills in the gaps. Getting these things straight from the start will give you the confidence you need to sign that contract and finally get your project rolling.
What’s a Reasonable Deposit?
This is a big one, and it's a question I hear all the time. A contractor definitely needs a deposit to order materials and lock in your project on their calendar. But an unusually large deposit is one of the biggest red flags you can encounter.
A professional, standard deposit should be around 10% of the total project cost. Sometimes, for big jobs with expensive, special-order items like custom windows or cabinetry, that might nudge up to 15%. If a contractor is asking for 25%, 30%, or even 50% before any work begins, you should walk away. That can be a sign of poor cash flow on their part, and it immediately puts you in a risky position with very little leverage if things go wrong.
How Many Quotes Should I Get?
It's tempting to think more is always better, but collecting too many quotes can quickly lead to analysis paralysis. In my experience, the sweet spot is getting three to five solid, detailed bids from contractors you've already vetted.
This gives you a strong sense of the fair market value for the work without completely overwhelming you. The goal isn't just to shop for the lowest price; it's to get three to five comparable proposals that you can actually evaluate side-by-side. Fewer than three, and you don't have a reliable baseline. More than five, and you're just making the decision harder than it needs to be.
Should I Tell Contractors My Budget?
Absolutely, yes. I know the fear—if you tell them you have $100,000 to spend, won't they just magically create a bid for $99,950? A true professional won't play that game.
Hiding your budget is counterproductive. A good contractor needs to know your realistic spending limit to provide practical advice, suggest appropriate materials, and design a scope of work that actually aligns with what you can afford.
Being upfront saves everyone a ton of time. It lets a contractor tell you honestly if your wish list is doable or if you need to rethink some things. This kind of transparency right from the start builds a foundation of trust, and that's exactly what you want in a partner for a major home project.
Who Is Responsible for Getting Permits?
This is non-negotiable: the general contractor is responsible for securing all necessary building permits. It's a fundamental part of their job and should be clearly spelled out as a line item in both the bid and the final contract.
A good contractor knows the local building codes, often has working relationships at the permit office, and understands how to get the paperwork pushed through. If a potential hire asks you to pull the permits yourself, consider it a deal-breaker. This is often a way for them to avoid accountability or work around licensing issues, leaving you holding all the legal and financial risk.
What Is a Punch List?
The project is almost done, but there are a few little things left. That's where the punch list comes in. It's simply the final to-do list created before the job is officially wrapped up and you make the final payment.
You and your contractor should walk through the entire space together to create this list. It's for all the minor details and fixes that need attention.
Common punch list items might include:
- Touching up a paint scuff on a wall.
- Adjusting a sticky cabinet door.
- Installing a final piece of trim that was on backorder.
The key here is that the final payment is only released after every single item on that punch list is completed to your satisfaction. It’s your last chance to ensure you’re getting the quality and finish you paid for.
Ready to turn your vision for a custom home into a reality? The team at CJMC Build brings decades of expertise to every new construction project in the Nashville area, ensuring a transparent and collaborative process from start to finish. Start the conversation about your dream home today.

