


Building a custom home is one of the most significant investments you'll ever make. From the first pour of concrete to the final coat of paint, every single detail contributes to the final outcome. But how can you be certain that your vision is being executed with the precision and durability it deserves, ensuring your investment stands the test of time? The key is a systematic approach to oversight, not just relying on a final walkthrough.
This is where a comprehensive construction quality control checklist becomes an indispensable tool. It transforms the complex process of building into a series of manageable, verifiable steps. Following this guide ensures that nothing is overlooked, from the unseen structural elements buried underground to the fine details of the finish work you'll see every day.
We've broken down the 10 most critical inspection points, providing actionable insights for each stage of the build. This roadmap is designed to empower you, whether you're building a modern farmhouse in Williamson County or a luxury estate in the Nashville area. It's about ensuring your new home is constructed not just to code, but to a standard of excellence that will last for generations. Let's lay the foundation for a flawless project.
1. Foundation and Structural Integrity Inspection
The foundation is the literal bedrock of your custom home, and its integrity is non-negotiable. This crucial checkpoint in any construction quality control checklist verifies that the foundation precisely matches the engineering blueprints and can safely support the structure for its entire lifespan. A thorough inspection at this stage prevents catastrophic failures and costly repairs down the road.
Key Verification Points
Inspectors meticulously examine several components before any concrete is poured. This includes confirming the soil has the required bearing capacity, verifying the depth and width of footings, and ensuring proper placement and tying of steel reinforcement (rebar). They also check for correct formwork and a clean subgrade, free of debris or standing water, which could compromise the concrete.
Key Insight: A foundation inspection is not a single event but a multi-step process. It starts with pre-construction soil analysis and continues through footing excavation, rebar placement, and right up to the final concrete pour and curing.
Practical Tips for Homeowners
To ensure your home’s structural stability, take these proactive steps:
- Pre-Construction Soil Study: Insist on a geotechnical report during the planning phase. This identifies soil composition and bearing capacity, informing the engineer's foundation design.
- Schedule Pre-Pour Inspections: Always have a third-party inspector or your structural engineer verify the rebar and formwork before the concrete truck arrives. Once the concrete is poured, these elements are concealed forever.
- Document Everything: Maintain a detailed log of all inspection reports, soil tests, and engineer sign-offs for your records.
By prioritizing a rigorous foundation inspection, you are building confidence and quality from the ground up. You can explore a more comprehensive overview of this and other critical checks in a detailed new home construction inspection checklist to better understand each stage. This initial step ensures the long-term safety, durability, and value of your custom home.
2. Concrete Quality and Curing Verification
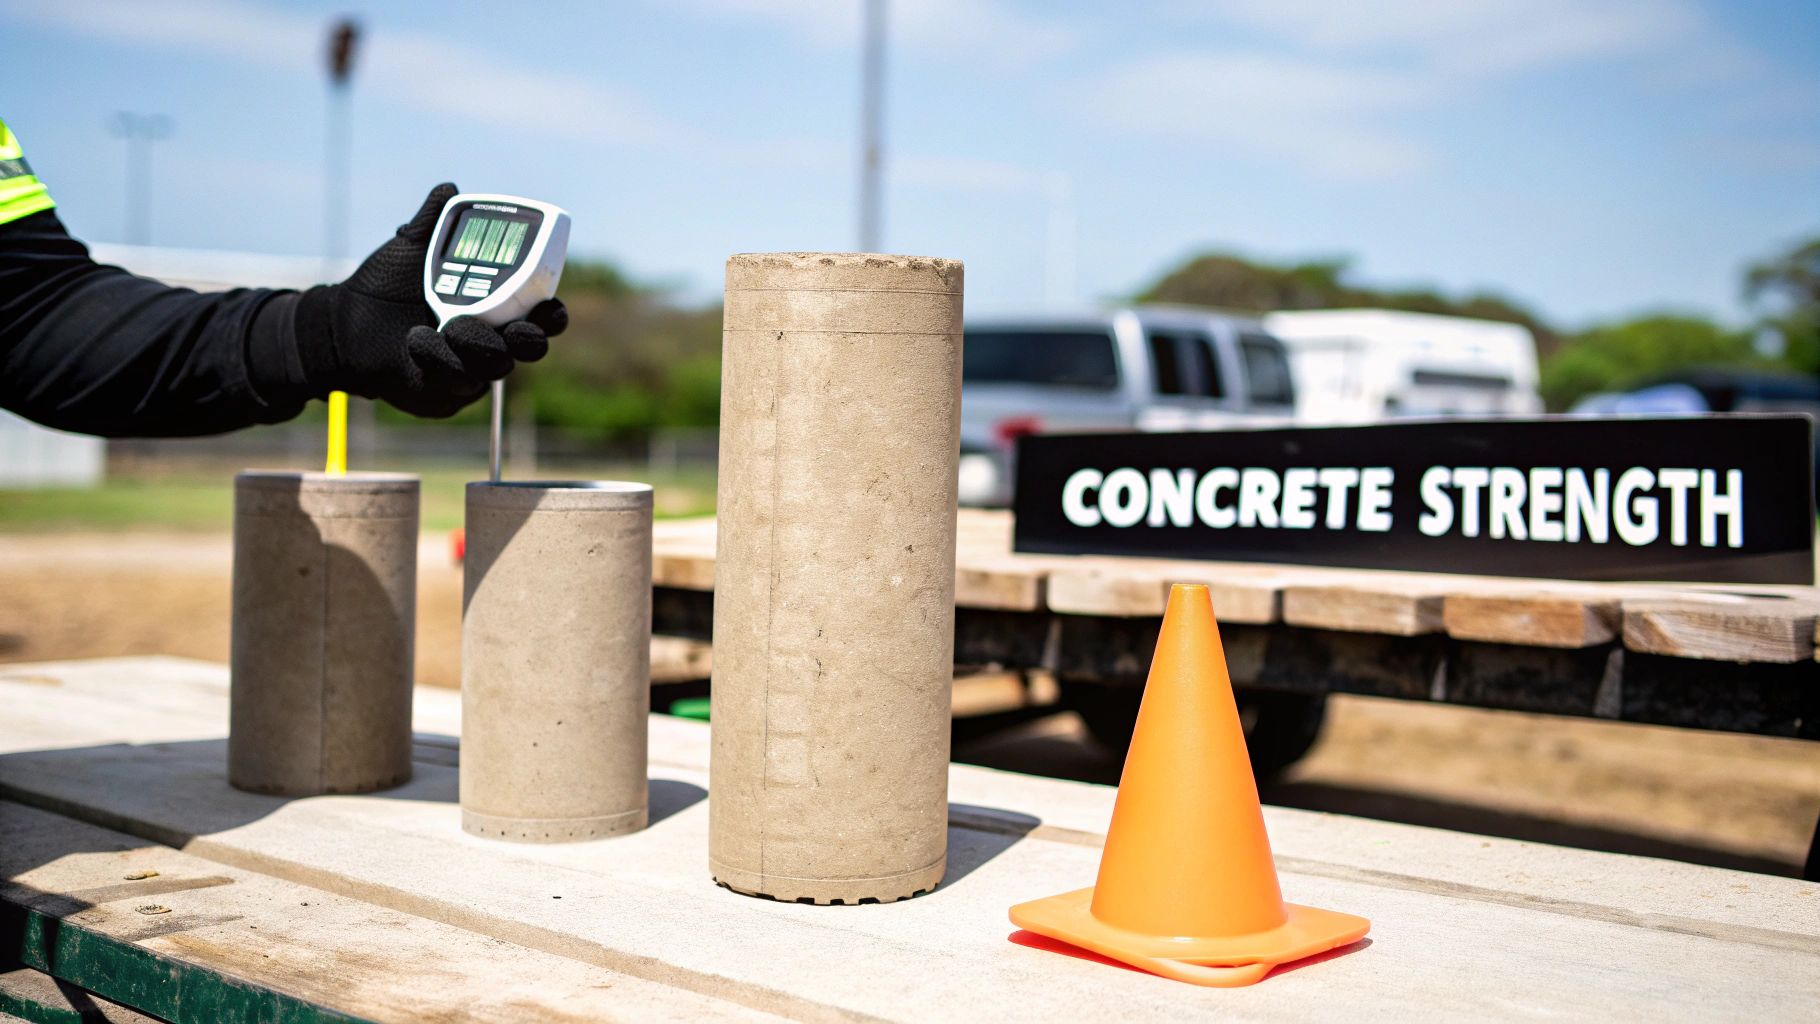
The concrete used in your custom home forms its structural skeleton, from the foundation to elevated slabs and beams. This vital point in the construction quality control checklist ensures the concrete mix meets precise engineering specifications for strength, durability, and consistency. Verifying its quality and proper curing process is fundamental to preventing premature deterioration, structural weaknesses, and potential failures.
Key Verification Points
Inspectors focus on compliance with the approved mix design, conducting on-site tests like the "slump test" to confirm workability before placement. They also monitor air content, which is crucial for durability in freeze-thaw cycles. Following the pour, inspectors track the curing environment, ensuring adequate moisture and temperature are maintained for the concrete to achieve its designed compressive strength, which is later verified through cylinder break tests.
Key Insight: Concrete doesn't just "dry"; it cures through a chemical reaction called hydration. Interrupting this process by allowing it to dry too quickly or get too cold can permanently compromise its final strength and long-term durability.
Practical Tips for Homeowners
To ensure your home is built with high-quality, properly cured concrete, consider these steps:
- Verify the Mix Design: Before any pour, ask your builder for the concrete supplier's mix design report. This document should match the specifications detailed in your structural plans.
- Request On-Site Test Results: Ensure your builder or a third-party inspector performs and documents slump and air content tests for each delivery truck. Keep copies of these reports.
- Monitor Curing Conditions: Discuss the curing plan with your contractor. This includes methods like using curing blankets in cold weather or applying a liquid membrane-forming compound to retain moisture.
Properly managed concrete work is a cornerstone of a well-built home. Understanding where these critical tests fall is easier when you view a detailed new home construction timeline. This oversight guarantees the structural elements of your custom home are built to last a lifetime.
3. Steel Reinforcement and Rebar Installation Verification
Often called the "skeleton" of your home, steel reinforcement (rebar) gives concrete its tensile strength, allowing it to span distances and resist cracking under pressure. This critical checkpoint in your construction quality control checklist verifies that all rebar is correctly placed, spaced, and secured according to the structural engineer’s plans. Proper installation is essential for the long-term durability of foundations, walls, and elevated slabs, especially in designs that feature expansive open-concept layouts.

Key Verification Points
An inspector confirms that the rebar's diameter, grade, and spacing match the blueprints. They check for proper overlap lengths where bars connect, ensure adequate concrete cover to prevent corrosion, and verify that the entire grid is securely tied to prevent shifting during the concrete pour. This process follows strict standards; for instance, Japan's earthquake-resistant building codes mandate enhanced rebar verification to ensure structures can withstand seismic activity.
Key Insight: Steel reinforcement is a complete system. Every detail, from the size of the rebar to the type of tie wire used, contributes to the overall strength of the concrete element. A single misplaced bar can create a weak point that compromises the entire structure.
Practical Tips for Homeowners
To guarantee your home’s structural resilience, implement these verification measures:
- Document Before Pouring: Insist that your builder takes high-resolution photographs of the rebar grid from multiple angles before any concrete is poured. This creates a permanent record of the installation quality.
- Request Mill Certificates: Ask your general contractor to provide mill certificates from the steel supplier. These documents confirm the rebar meets the required material strength and quality specifications.
- Schedule Independent Testing: For critical structural elements like a suspended patio or long-span beam, consider hiring a third-party inspector to verify the rebar installation just before the pour.
4. Formwork and Temporary Shoring Inspection
Formwork is the temporary mold into which concrete is poured, and shoring provides crucial support until the concrete can bear its own weight. This checkpoint in your construction quality control checklist ensures these temporary systems are robust enough to handle immense pressure without failure. A proper inspection confirms structural adequacy, correct bracing, and precise alignment, preventing dangerous collapses and ensuring the final concrete elements are shaped exactly as designed.
Key Verification Points
Inspectors must verify that the formwork and shoring systems are built according to engineered plans. This involves checking for proper vertical and horizontal bracing, confirming all joints are secure, and ensuring the form surfaces are clean and treated with a release agent for a smooth finish. They also verify that the entire system is plumb and level, as any deviation can lead to structural imperfections in the final concrete pour.
Key Insight: Formwork failure is one of the most common causes of construction site accidents. Rigorous inspection is not just about quality; it’s a critical safety mandate that protects workers and the integrity of your project.
Practical Tips for Homeowners
To guarantee safety and precision during this critical phase, implement these measures:
- Request Design Calculations: Before installation begins, ask your builder for the formwork design calculations and ensure they have been approved by a professional engineer.
- Conduct Daily Checks: Visually inspect the formwork each day before a pour for any signs of movement, deflection, or damage. Address any issues immediately.
- Document Removal Procedures: Ensure there is a clear, documented plan for when and how the formwork will be removed, based on the concrete's tested strength, not just a set number of days.
By treating the temporary formwork with the same diligence as the permanent structure, you ensure both the safety of the site and the dimensional accuracy of your home’s concrete elements. This step is fundamental to achieving the high-quality finish expected in a custom build.
5. Masonry and Brick Work Quality Assessment
High-quality masonry is both an art and a science, defining a home's exterior character and structural resilience. This checkpoint in a construction quality control checklist ensures that all brick, block, and stone work meets exacting standards for material quality, alignment, and mortar application. Proper assessment prevents issues like water intrusion, efflorescence (salt deposits), and structural weakness, preserving your home’s aesthetic appeal and durability.
Key Verification Points
Inspectors evaluate several critical aspects of the masonry work. This includes confirming the quality of bricks or blocks, ensuring mortar is mixed to the correct consistency, and verifying that joints are uniformly filled and tooled. They also check that walls are plumb (perfectly vertical) and level, with consistent courses and proper bonding patterns to ensure strength and visual appeal, whether for load-bearing or veneer applications.
Key Insight: Quality masonry inspection is continuous, not just a final review. Observing the process allows for real-time correction of mortar mixing, jointing techniques, and alignment before mistakes are literally cemented in place.
Practical Tips for Homeowners
To guarantee your home’s masonry is built to last, implement these quality control measures:
- Establish Mockup Panels: Before full-scale work begins, request a sample wall panel. This sets the standard for color, texture, mortar joints, and overall craftsmanship that the rest of the project must match.
- Monitor Weather Conditions: Mortar curing is highly sensitive to weather. Ensure your builder protects new masonry from freezing temperatures or excessive heat and direct sun, which can compromise its bond strength.
- Verify In-Progress Work: Don't wait until a wall is finished. Routinely use a level and straightedge to check for straightness and alignment during construction. For example, Dutch guidelines often require photographic documentation every 100 square meters to track progress.
By carefully assessing masonry, you ensure that this highly visible and structural element of your home performs flawlessly and looks beautiful for decades. This focus on detail is a hallmark of a comprehensive construction quality control checklist, safeguarding your investment from the outside in.
6. Waterproofing and Damp-Proof Course Installation Verification
Protecting your home from water intrusion is fundamental to its longevity and structural health. This checkpoint in the construction quality control checklist focuses on the meticulous installation of waterproofing membranes and damp-proof courses, especially in basements, crawl spaces, and wet areas like bathrooms. Proper verification ensures a dry, mold-free environment, preventing costly moisture-related damage and preserving your home's foundation and indoor air quality.
Key Verification Points
Inspectors confirm that all surfaces are properly prepared, clean, and dry before any application. They verify the correct material is used for the specific location, ensuring proper overlap between membrane sheets, and confirming all seams and penetrations for pipes or conduits are perfectly sealed. The application must strictly adhere to manufacturer specifications, from thickness to curing times, creating an unbroken barrier against moisture.
Key Insight: Effective waterproofing is a system, not a single product. It involves coordinating surface preparation, membrane application, sealant use, and drainage solutions. A failure in any one of these components can compromise the entire system.
Practical Tips for Homeowners
To guarantee your home remains impervious to moisture, consider these essential actions:
- Pre-Application Inspection: Schedule an inspection to verify substrate conditions before the waterproofing membrane is applied. This prevents adhesion failure and ensures a proper bond.
- Mandate Flood Testing: For horizontal surfaces like shower pans or balconies, insist on a 24-hour flood test after the membrane cures but before tiling begins. This is the only way to be certain it is watertight.
- Document Manufacturer Specs: Keep a file of the product data sheets for all waterproofing materials used. This allows you to confirm that installation conditions, like temperature and humidity, were met.
By rigorously overseeing the waterproofing stage, you are actively defending your home against one of its most persistent threats: water. This diligence protects your investment and ensures a healthy, durable living space for years to come.
7. Electrical and Fire Safety Systems Inspection and Compliance
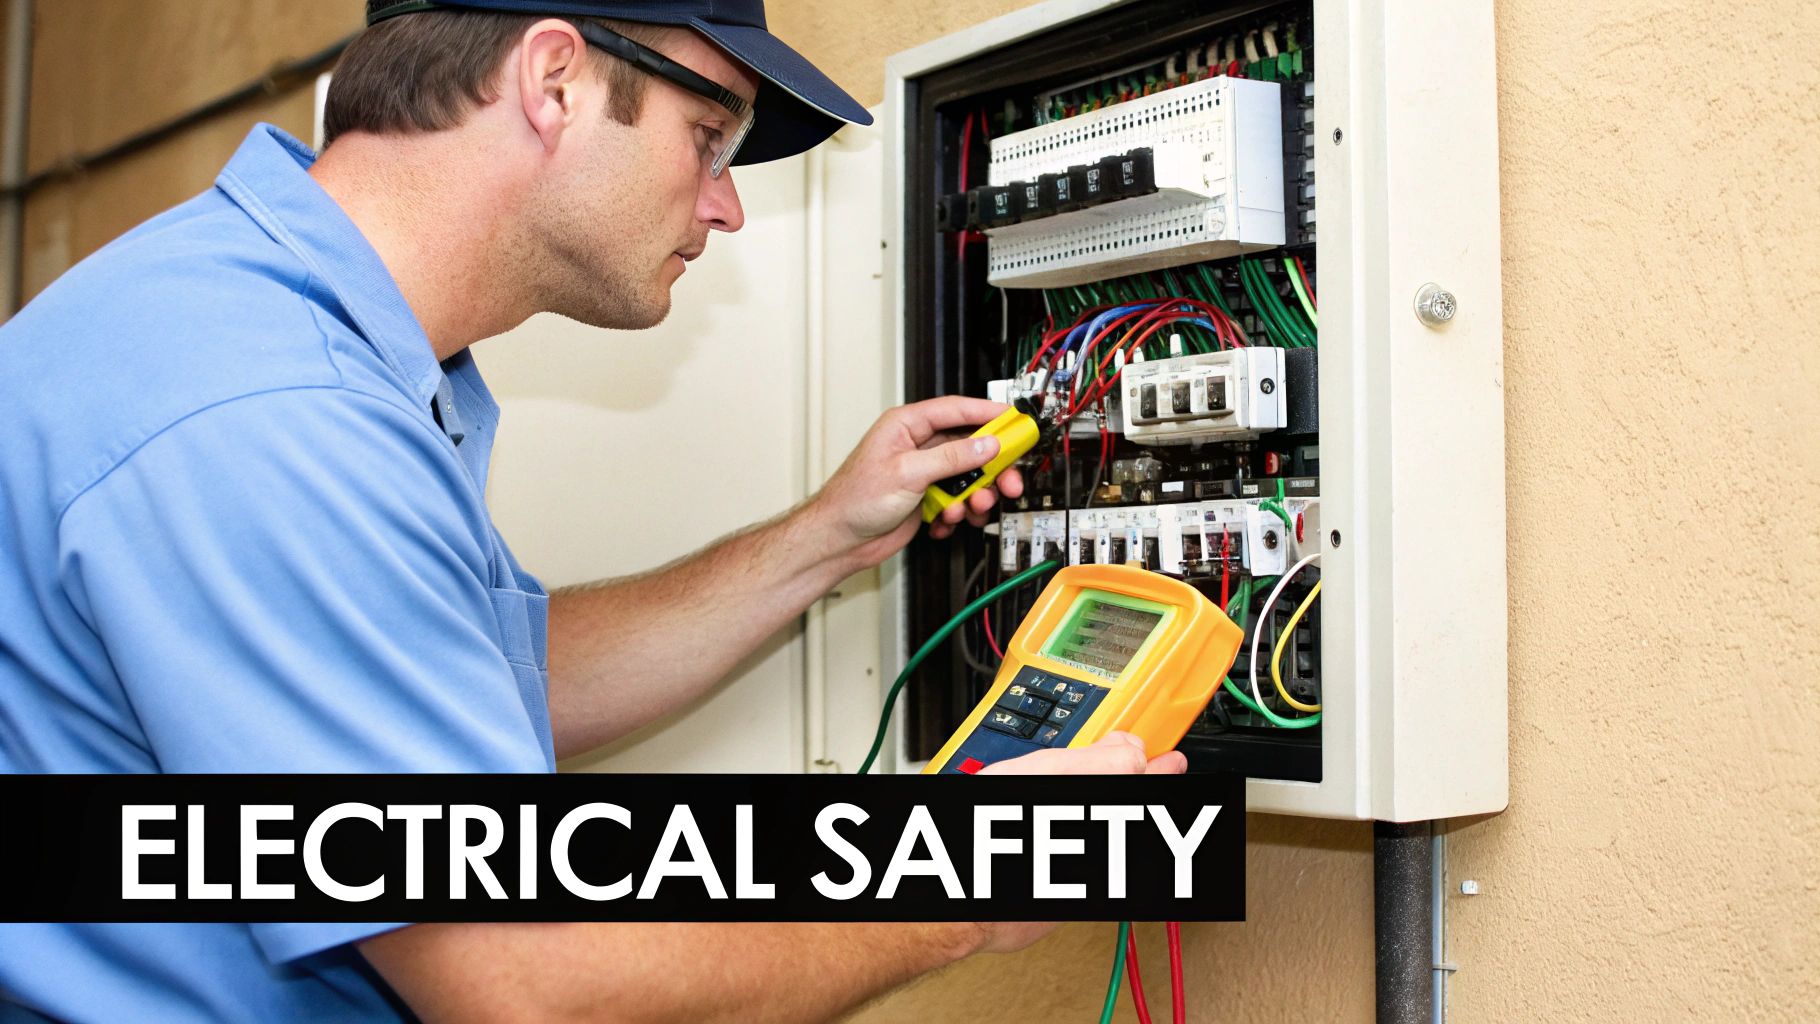
Ensuring the safety and functionality of your home’s electrical and fire protection systems is a critical checkpoint in any construction quality control checklist. This inspection verifies that all wiring, circuit protection, grounding, and life-safety systems like smoke detectors and sprinklers are installed according to code and design specifications. A rigorous review at this stage guarantees occupant safety, prevents electrical hazards, and ensures seamless operation between interconnected systems.
Key Verification Points
Inspectors conduct a multi-stage review, starting with a "rough-in" inspection before drywall is installed. They verify correct wire gauge, proper circuit routing, secure box placement, and compliance with codes like the National Electrical Code (NEC). For fire safety, they check the placement of smoke and carbon monoxide detectors, sprinkler head locations, and proper wiring for alarm systems, ensuring all components meet standards like NFPA 72.
Key Insight: Electrical and fire safety systems are deeply integrated. A fault in an electrical circuit can disable a fire alarm, making coordinated inspection essential. This process isn't just about code compliance; it's about confirming the systems work together as designed to protect your family and property.
Practical Tips for Homeowners
To ensure your home’s life-safety systems are installed correctly, follow these proactive measures:
- Schedule a Pre-Drywall Walkthrough: Insist on a walkthrough with your electrician and a third-party inspector to review all wiring before the walls are closed. This is your last chance to easily correct any issues with placement or installation.
- Test and Document: During the final stages, ensure every GFCI and AFCI outlet is tested for proper function. Request a meticulously labeled electrical panel diagram and a full system test of the fire alarm and sprinkler systems.
- Verify Certifications: Confirm that your builder provides all necessary compliance documents, such as a Part P electrical safety certificate in the UK or a certificate of compliance based on AS/NZS 3000 in Australia, before final sign-off.
By focusing on this combined inspection, you ensure that the systems designed to protect you are installed with the highest level of precision and reliability. This step is fundamental to the long-term safety and security of your new custom home.
8. HVAC Systems Testing and Commissioning Verification
A high-performance HVAC system is the heart of a comfortable, healthy, and energy-efficient home. This critical checkpoint in any construction quality control checklist goes beyond simply turning the unit on; it verifies that heating, ventilation, and air conditioning systems are installed correctly, operate at peak efficiency, and maintain superior indoor air quality. Proper commissioning ensures your system delivers the comfort you paid for without wasting energy.
Key Verification Points
Inspectors conduct a series of tests to confirm the system performs to design specifications. This includes verifying all equipment is installed per manufacturer requirements, checking for airtight ductwork connections, and calibrating thermostats and control systems. They also ensure correct refrigerant levels and perform a full system balance to guarantee proper airflow to every room in the house.
Key Insight: Commissioning is not just a final check; it’s a systematic process that validates the entire HVAC system’s performance. It’s the only way to prove the system meets the energy efficiency and comfort standards set during the design phase.
Practical Tips for Homeowners
To ensure your HVAC system operates flawlessly from day one, follow these steps:
- Establish Performance Baselines: During the design phase, work with your builder to define clear HVAC performance specifications, including desired efficiency ratings (SEER/HSPF) and indoor air quality targets.
- Schedule Pre-Occupancy Testing: Insist that commissioning happens after all system components are installed but before you move in. This allows for necessary adjustments without disrupting your family.
- Verify Duct Integrity: Request a duct leakage test (often performed at a 25 Pa pressure differential) to find and seal leaks, which can significantly reduce efficiency and comfort. This is a vital step for a comprehensive construction quality control checklist.
- Document and Train: Ensure all test results are documented and that the contractor provides you with an operations manual and a walkthrough of how to properly maintain your new system.
9. Plumbing Systems Pressure Testing and Safety Verification
A properly installed plumbing system is essential for the health, safety, and daily comfort of your household. This critical checkpoint in any construction quality control checklist ensures all water supply and drainage lines are leak-free, correctly installed, and compliant with local codes before being concealed behind drywall. A thorough inspection prevents water damage, mold growth, and unsanitary conditions that can arise from even the smallest defect.
Key Verification Points
Inspectors perform a series of tests to validate the system’s integrity. Water supply lines are subjected to a pressure test, where they are filled with water or air and monitored to ensure there is no pressure drop, which would indicate a leak. For drainage systems, inspectors confirm proper slope for gravity flow, secure connections, and the correct installation of vents to prevent sewer gas from entering the home. They also verify compliance with codes like the Canadian National Plumbing Code, which requires licensed plumber sign-off.
Key Insight: Plumbing verification is more than just a leak test. It's a comprehensive safety check that includes verifying cross-connection prevention, proper installation of backflow prevention devices, and confirming all fixture rough-ins are correctly located per the plans.
Practical Tips for Homeowners
To ensure your home’s plumbing is reliable and safe, follow these steps:
- Test Systems Separately: Insist that water supply and drainage/waste/vent (DWV) systems are tested independently. Supply lines are tested under high pressure with water, while DWV lines are typically tested with low-pressure air or a water head test.
- Document the Pressure Test: Ask for a documented report of the pressure test, including the starting pressure, duration of the test (e.g., California requires at least 15 minutes), and the final pressure reading. This provides official proof of a leak-free system.
- Verify Accessibility: Before walls are closed, personally walk through and confirm that all main shut-off valves and sewer cleanouts are easily accessible for future maintenance and emergencies.
By prioritizing rigorous plumbing system verification, you safeguard your home from costly water damage and ensure its long-term functionality and safety. This step is a non-negotiable part of building a high-quality custom home in Middle Tennessee and beyond.
10. Finish Work Quality and Compliance Inspection
The final finishes are what transform a well-built structure into a beautiful, move-in-ready home. This last critical checkpoint in your construction quality control checklist is dedicated to verifying the aesthetic and functional quality of all visible surfaces and fixtures. It ensures that every detail, from paint application to hardware installation, meets the high standards outlined in your project specifications before final handover.
Key Verification Points
Inspectors meticulously evaluate flooring for levelness and proper installation, wall finishes for consistent texture and color, and ceilings for a flawless surface. They also assess the quality of interior and exterior trim work, check hardware for correct operation, and ensure all painting is precise, with clean lines and no imperfections. This stage confirms that the final product aligns perfectly with the design intent and material selections.
Key Insight: International standards often formalize this process. For instance, Singapore's HDB includes a 12-month Defects Liability Period for homeowners to report finish issues, highlighting the long-term importance of getting these details right from the start.
Practical Tips for Homeowners
To guarantee your home’s finishes are impeccable, implement these strategies:
- Establish Finish Mockups: Early in the project, approve a physical sample or a mockup room. This sets a clear, tangible quality standard for the contractor to replicate.
- Conduct Punch-List Walk-Throughs: Before declaring substantial completion, walk through the property with your builder to create a "punch list" of items needing correction.
- Document and Photograph: Use your phone to take date-stamped photos of any defects. This creates a clear record for warranty claims and ensures accountability.
This final inspection is your last opportunity to ensure perfection. You can find more detail on this and other essential stages in a comprehensive new home construction checklist to guide your final walk-through. This meticulous review guarantees the home you envisioned is the home you receive.
Construction Quality Control: 10-Point Comparison
| Inspection Checkpoint | 🔄 Complexity | ⚡ Resource Requirements | 📊 Expected Outcomes | ⭐ Key Advantages | 💡 Tips |
|---|---|---|---|---|---|
| Foundation and Structural Integrity Inspection | Very high — geotechnical analysis, structural verification; may delay schedule | Geotechnical engineers, GPR/core testing, settlement monitors, lab services | Confirm bearing capacity, correct depths/widths, safe load support | Prevents catastrophic failures; ensures long-term stability; lowers liability | Conduct soil studies early; inspect before pour; involve structural engineer |
| Concrete Quality and Curing Verification | High — time-dependent testing across curing periods | Certified technicians, lab for compressive tests, sampling equipment, temp/humidity monitoring | Verify compressive strength at 7/14/28 days; detect defects early | Ensures durability and compliance; provides warranty documentation | Establish baseline mix; test during curing; keep detailed logs |
| Steel Reinforcement and Rebar Installation Verification | Moderate–high — detailed placement checks; some NDT or destructive checks | Skilled inspectors, calipers/tapes, ultrasonic/X‑ray/GPR, mill certificates | Ensure correct bar size/spacing/cover and splice lengths | Validates structural calculations; prevents failure and corrosion | Photograph placement before pour; use mill certs; color-code ties |
| Formwork and Temporary Shoring Inspection | High — requires engineering calculations and real‑time monitoring | Formwork engineers, bracing systems, settlement/tilt sensors, daily inspections | Safe support during pour; dimensional accuracy; reduced rework | Prevents form failure and spill; protects worker safety | Require stamped calculations; monitor deflection; brace before pour |
| Masonry and Brick Work Quality Assessment | Moderate — labor‑intensive visual and sample testing | Skilled masons/inspectors, levels/laser tools, mortar testing equipment | Plumb/level alignment, bond integrity, moisture control | Ensures structural/aesthetic integrity and durability | Build mockup panels; inspect in progress; monitor weather |
| Waterproofing and Damp‑Proof Course Installation Verification | Moderate–high — sensitive to substrate and weather; hidden after completion | Certified applicators, membranes, flood‑test equipment, thermography | Verified membrane integrity, sealed penetrations, proper overlaps | Prevents severe water damage; extends foundation life; avoids mold | Flood test before backfill; have manufacturer rep on site; verify prep |
| Electrical and Fire Safety Systems Inspection and Compliance | Very high — code‑intensive, coordinated functional testing | Licensed electricians, fire engineers, multimeters, megohmmeters, thermal imaging | Code compliance, operational fire/electrical systems, occupant safety | Life‑safety assurance; required for occupancy; reduces fire risk | Schedule pre‑wire checks; document panels/circuits; run mock drills |
| HVAC Systems Testing and Commissioning Verification | High — system balancing and controls calibration; lengthy process | Commissioning agents, duct leakage testers, anemometers, data loggers | Energy‑efficient operation, IAQ, designed capacity validated | Energy savings; occupant comfort; extended equipment life | Set baseline specs early; perform duct leakage @25 Pa; document results |
| Plumbing Systems Pressure Testing and Safety Verification | Moderate — pressure and slope verification; potential disruptive repairs | Plumbers/inspectors, pressure gauges, hydrostatic testers, CCTV cameras | Leak‑free supply/drainage, proper venting, backflow protection | Prevents water damage and health hazards; code compliance | Test systems separately; record pressure drop; ensure cleanout access |
| Finish Work Quality and Compliance Inspection | Low–moderate — largely visual and subjective; punch‑list driven | Finish inspectors, light meters, cameras, surface profile gauges | Consistent finishes, functioning hardware, occupant satisfaction | Protects asset value; identifies defects pre‑occupancy | Use mockups/spec samples; inspect under consistent lighting; photograph defects |
From Blueprint to Beautiful: Your Final Step to Quality Assurance
The journey from a detailed architectural drawing to a finished, beautiful custom home is paved with thousands of small, critical decisions and meticulous checks. This article has guided you through the ten most pivotal stages of that process, providing a comprehensive construction quality control checklist to empower you in your home-building journey. We've moved from the ground up, starting with the very bedrock of your home—the foundation and structural elements—and progressing through the essential systems that bring it to life, culminating in the fine details of the finish work that define its character.
The core takeaway is that exceptional quality isn't an accident; it's the result of a deliberate, systematic, and transparent process. By understanding the checkpoints for everything from concrete curing and rebar installation to plumbing pressure tests and HVAC commissioning, you are no longer just a spectator. You become an informed and active participant in safeguarding your investment and ensuring the final product aligns perfectly with your vision.
Your Role in Quality Assurance
Your active engagement is the most powerful tool you have. Using this checklist transforms your conversations with your builder from general inquiries to specific, targeted questions. Instead of asking, "Is the foundation okay?" you can now ask, "Can we review the reports for the concrete slump tests and verify the rebar placement against the structural plans?" This level of detail fosters a partnership built on accountability and shared goals.
Remember these key principles:
- Document Everything: Keep a detailed record of inspections, communications, photos, and any approved changes.
- Trust but Verify: A great builder will welcome your questions and provide the documentation to back up their work.
- Never Assume: If something doesn't look or feel right, address it immediately. It is always easier and less expensive to fix a potential issue early in the process.
The Lasting Impact of Diligence
Ultimately, a rigorous approach to quality control is about more than just passing inspections. It's about building a home that provides safety, comfort, and lasting value for you and your family. Each verified item on this checklist contributes to a stronger, more durable, and more efficient structure. It’s the difference between a home that simply looks good on closing day and a home that performs beautifully for decades to come.
This construction quality control checklist is your roadmap. It ensures that every layer of your home, from the hidden waterproofing membranes to the flawless paint finishes, is executed to the highest standard. By championing this process, you are not just overseeing a construction project; you are curating a legacy of quality craftsmanship. Your dream home in Middle Tennessee is within reach, built not just with materials, but with diligence, precision, and a shared commitment to excellence.
Ready to partner with a builder who lives and breathes this level of detail? The team at CJMC Build has built its reputation on a foundation of transparency and an unwavering commitment to quality, integrating a rigorous construction quality control checklist into every custom home project. Visit CJMC Build to see how their meticulous process can bring your vision for a luxury Middle Tennessee home to life.

